Hogwarts Legacy: How to complete The Caretaker’s Lunar Lament main quest
Step-by-step guide to completing the Caretaker's Lunar Lament quest in Hogwarts Legacy.
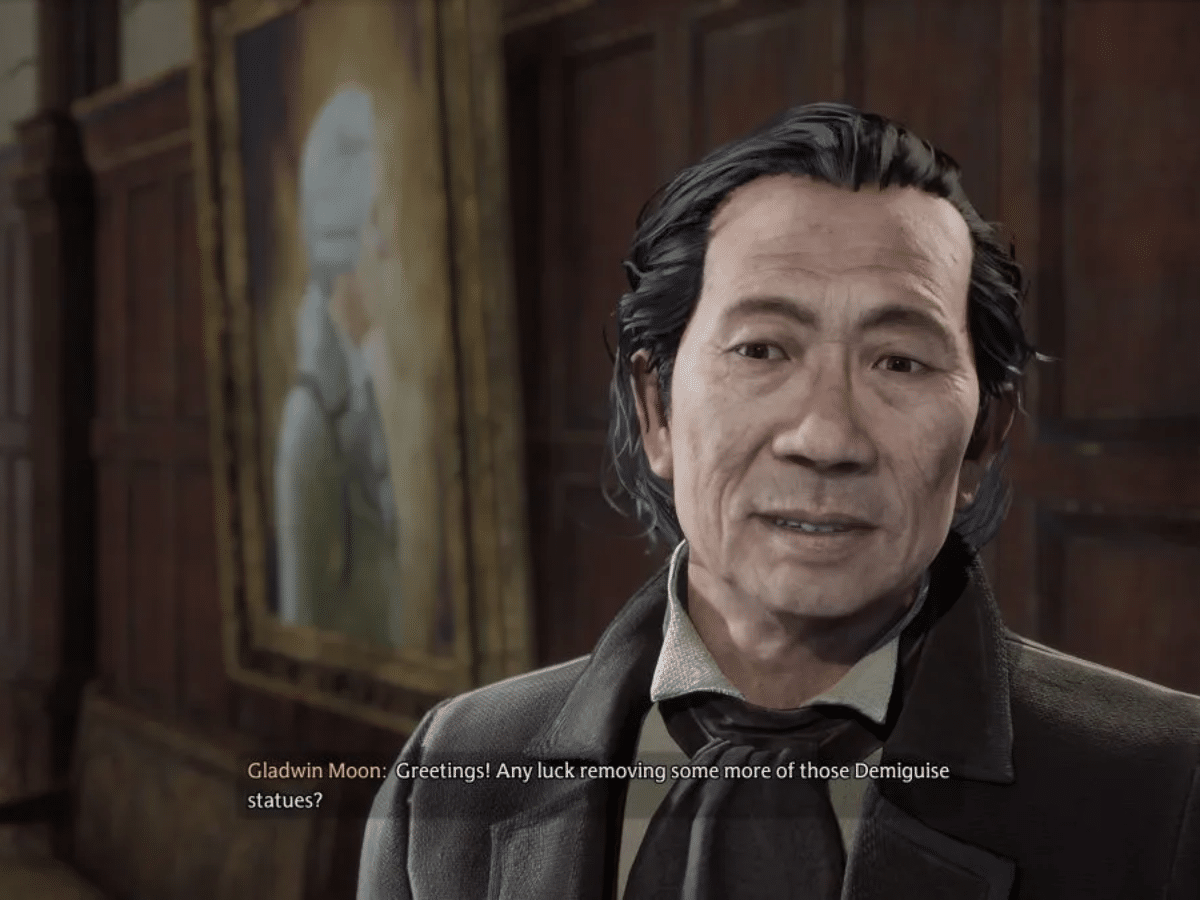
Gladwin Moon
Hogwarts Legacy is an action role-playing game that takes players on an exciting adventure through the world of Harry Potter. The nominee for the “Most Anticipated Game” has a huge open world map for players to explore and many secret locations to discover.
The game is set in Hogwarts School of Witchcraft and Wizardry, where players create and customize their own characters and follow a beautifully weaved storyline. The Caretaker’s Lunar Lament quest is the twenty-second main quest in the story of Hogwarts Legacy. The quest prompts players to interact with caretaker Gladwin Moon and retrieve Demiguise statues from different areas of Hogwarts. This is a mandatory quest that players must complete in order to move on with the story, as it grants players the spell Alohomora, which is very useful in future quests.
Related – Hogwarts Legacy: How to complete Helm of Urktot Main quest
Hogwarts Legacy Walkthrough: The Caretaker’s Lunar Lament

The Caretaker’s Lunar Lament main quest is unlocked after completing Professor Percival Rackham’s trial. It prompts players to interact with caretaker Gladwin Moon and retrieve Demiguise statues from different areas in Hogwarts. This is a detailed walkthrough to help player complete the rather tricky quest.
Talk to Gladwin Moon
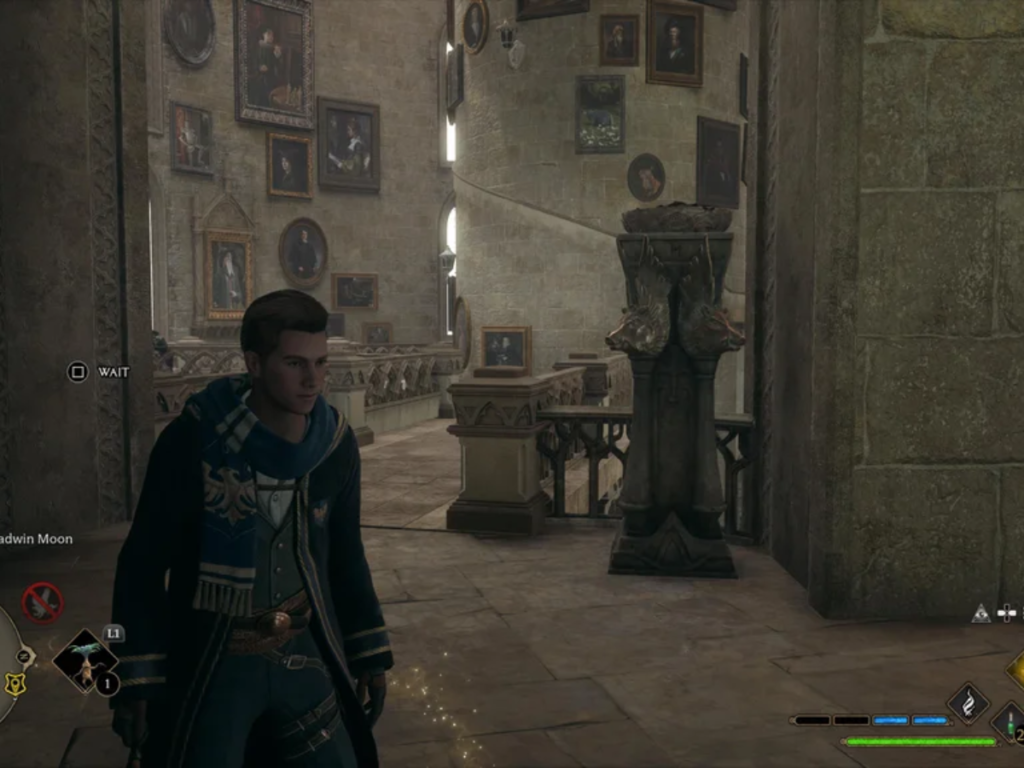
To activate this quest, player must head to the Grand staircase in Hogwarts Legacy and interact with the Hogwarts caretaker Gladwin Moon. On talking to him, he will explain that someone has been trying to play pranks on him and has placed Demiguise Statues throughout the school. He will then ask you to observe the statue and you will notice it changes as night time rolls in. After the cutscene is over, go to the statue and retrieve the Demiguise Moon
Once you have done this, Gladwin Moon will lead you to a nearby locked door and ask you to retrieve two other Demiguise Moons. One of which will be in the Hospital Wing and the other in the Prefect’s Bathroom. Since the Moons are in restricted areas, he will teach you an essential spell Alohomora to help you get open locked doors. The spell Alohomora is an essential space and will not acquire a spell slot and can be used by interacting with lock when prompted.
Unlocking locked doors
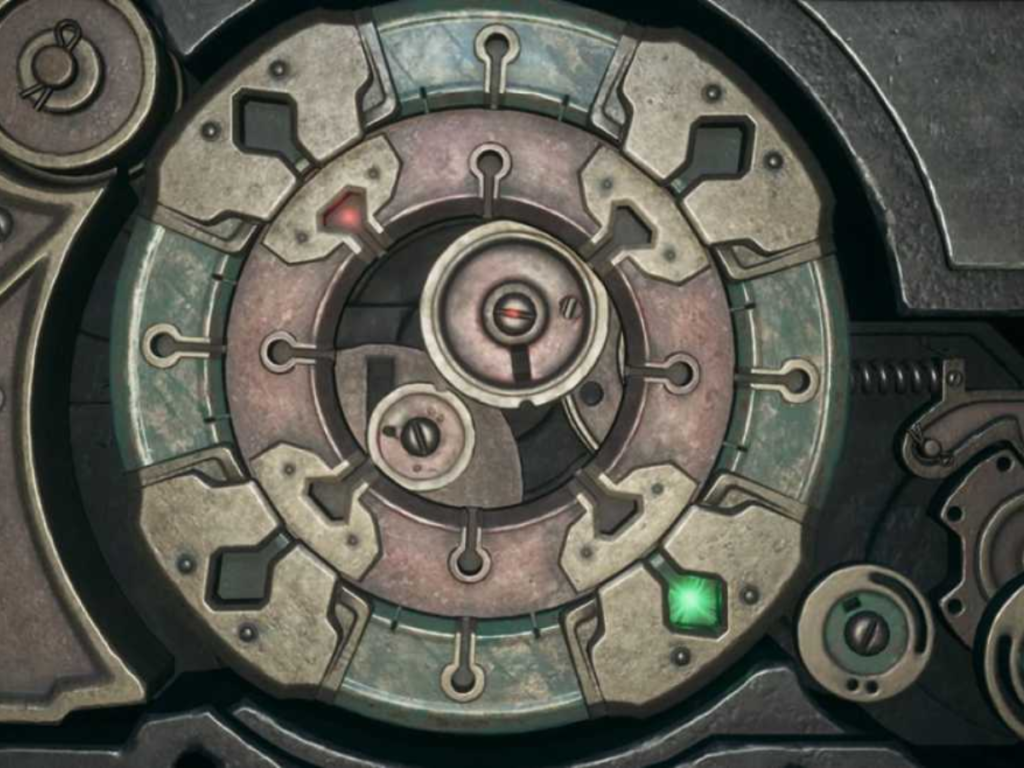
After learning the spell Alohomora, you must then cast the spell on the lock on the door to get it open. Once you have interacted with the door, a minigame will open up prompting you to solve it to get the door unlocked. This is quite a tricky mini game to understand at first but gets easier as you do it more often.
To complete the minigame, you must rotate two dials with respective buttons until they start spinning on their own. For example, on PC players are given ‘A’ and ‘D’ to rotate one dial and ‘Q’ and ‘E’ to rotate the other. Rotate the dial with respective keys until you see additional gears light up green and begin to turn. Do the same with the other dial until you see a red reaction much the same. If you have done it correctly, you will hear a click sound and the door will be unlocked.
The Prefect’s Bathroom
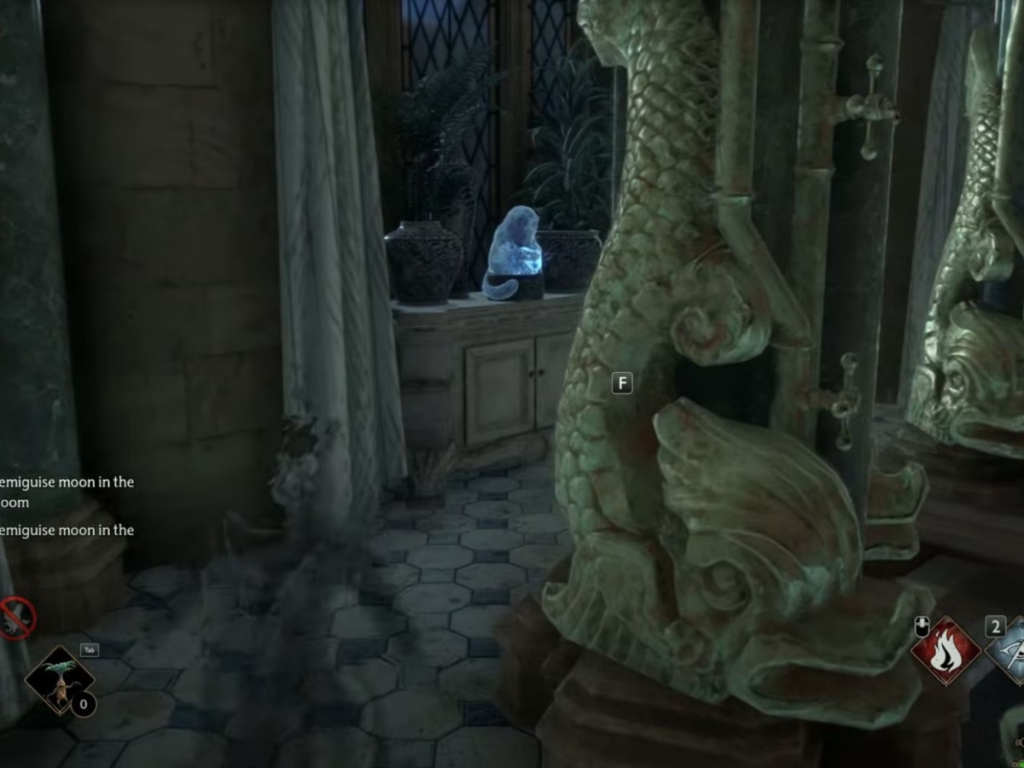
The first Demiguise statue is the Prefect’s Bathroom located in the Faculty Wing. Since the Faculty Wing is a restricted area only open to prefects and professors, you must use stealth to complete this quest. Once you have unlocked the door, cast the Disillusionment spell to hide yourself from patrolling prefects and professors. Head up the staircase until you reach the first floor. On the first floor you will notice that a prefect is blocking your path. You must perform a basic cast on the far corner to lure the prefect away and then make your way up the next flight of stairs.
On the second flight of stairs, stick to right to avoid the two prefects that are standing to the left side. Once you reach the next floor, you will find the prefect’s bathroom and have to unlock it using Alohomora. You will again be prompted with the lockpicking minigame that you must solve. After this has been completed, proceed to the right side of the bathroom to avoid prefects and you will find the Demiguise statue on the far side of the bathroom.
The Hospital Wing
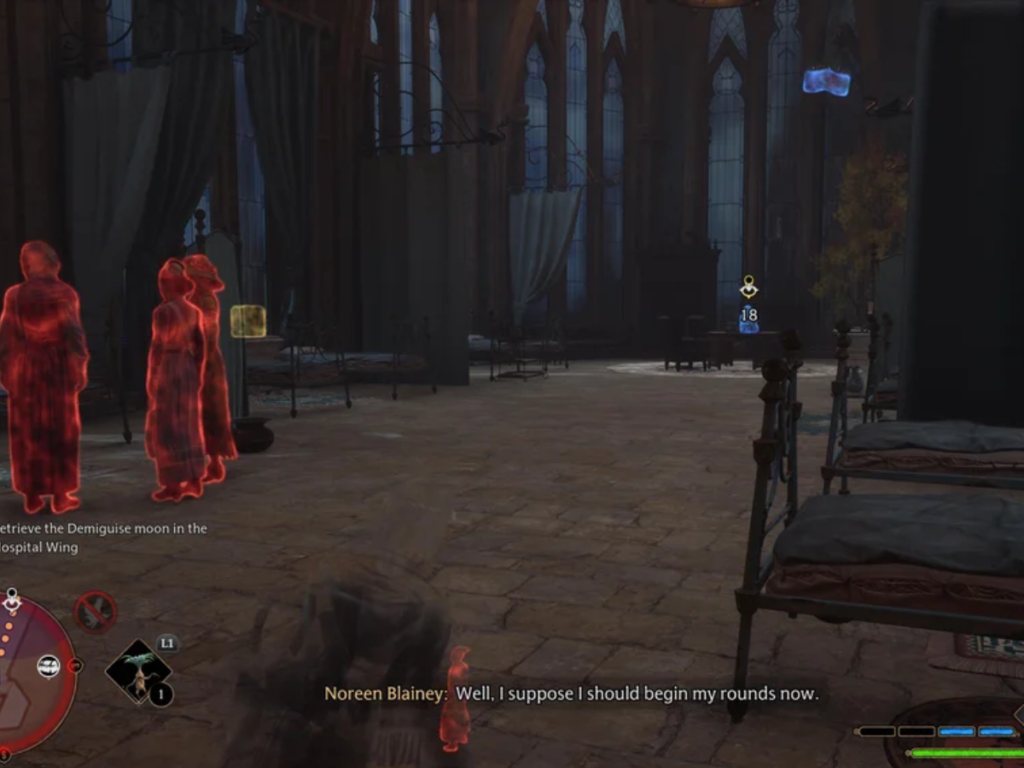
The location of the second Demiguise Moon you must retrieve is the Hospital Wing in Hogwarts Legacy. To reach the Hospital Wing, exit the prefect’s bathroom and continue making your way up the spiral staircase. You will notice that you have reached the location when you find the Hospital Wing Floo Flame has been activated. Enter the Hospital Wing and carefully sneak past the nurse and professor near the left side. Once you get past them you will find the second Demiguise Statue on a table on the far side of the room.
Return to Gladwin Moon
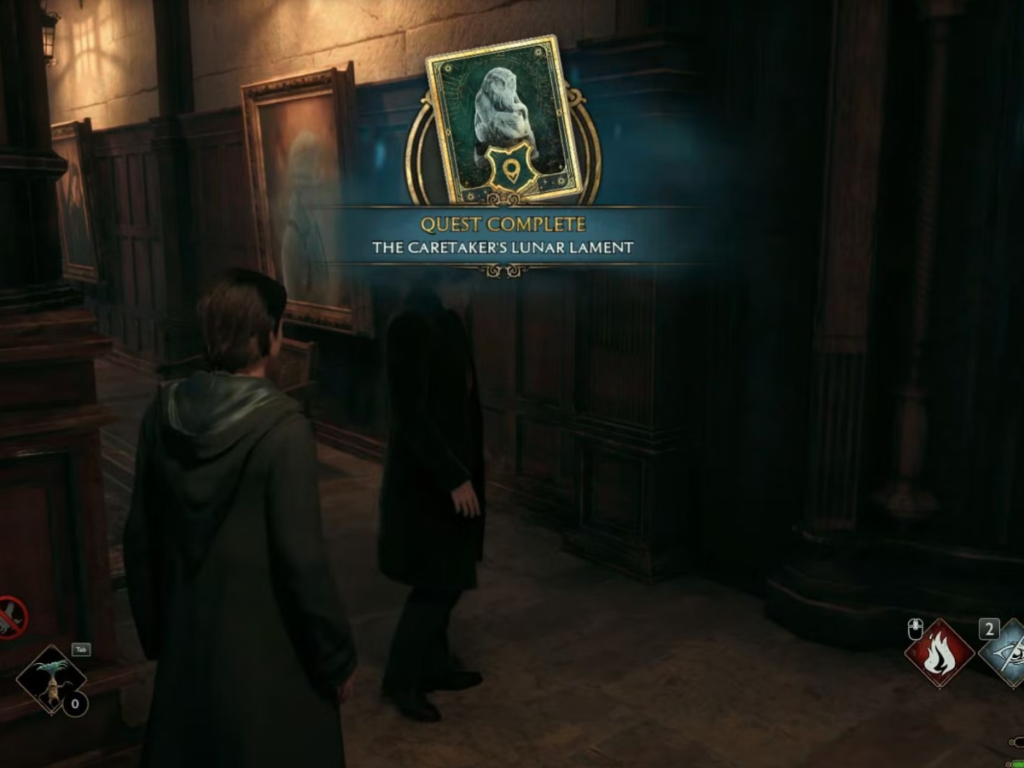
Keep in mind that the quest is not over until you return the recovered Demiguise Moons to Gladwin Moon. Cautiously make your way back down to the door you enter through. You must use basic cast when needed to lure away the patrolling prefects. If players are playing the game on a higher difficulty, the number of patrolling prefects increases. You must also be careful of the two prefects that are exiting through the same door you must reach. Wait for them to exit before heading out to meet Gladwin Moon.
Once you have exited the Faculty Wing, interact with Gladwin Moon to complete the twenty second quest in the Hogwarts Legacy storyline. Completing the quest rewards you with the unlocking charm Alohomora and experience points. Players must keep in mind that the Alohomora that the quest rewards is of level 1 and can only be used to open level 1 locks. However if players want to access higher level locks, they must return to Gladwin Moon with more Demiguise Moons to upgrade their Alohomora to a higher level.
In case you missed it:
- Top 10 most downloaded PlayStation 5 games in April 2023
- “F*ck it, I am Back” Tenz returns to Sentinels Valorant lineup after recovering from injury


