Elden Ring’s secret boss Dragonlord Placidusax: Location, fighting strategies & more
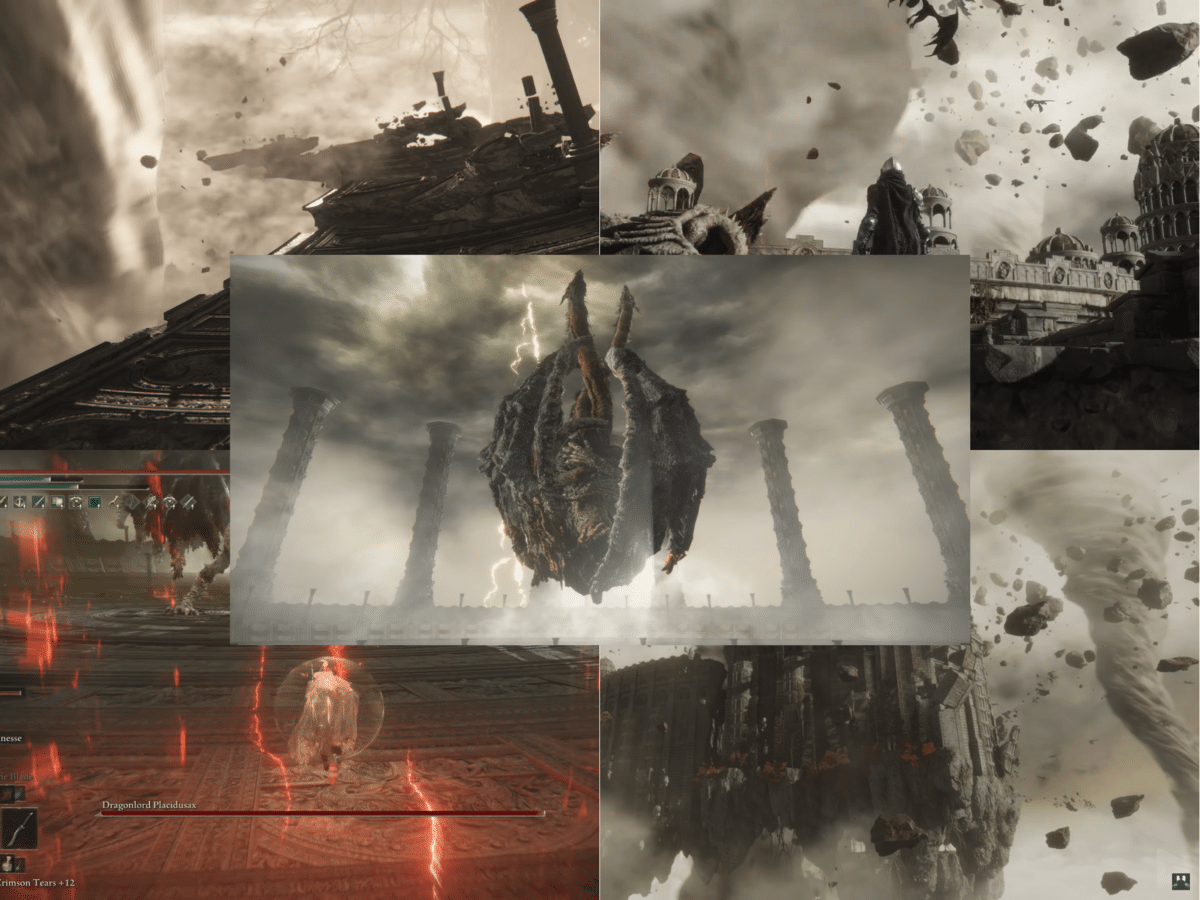
Dragonlord Placidusax, a secret boss is located in the end game region of Crumbling Farum Azula and is really hard to beat.
🔍 Explore this post with:
When we hear Elden Ring, two things come to our minds. The great, expansive, and awe-inspiring world is infused with the spirit of exploration and conquest. Or flashbacks of our deaths, over and over, from the most trivial of things like a humanoid rolling frog. Moreover, these deaths sure are pretty frustrating, but the deaths we experience while fighting bosses are the worst. The worst scenario is when we almost depleted the boss’s health bar but were one-shot despite being close to full health ourselves. Well, the Elden Ring boss we are about to discuss is probably one of the game’s top 5 hardest bosses. And but this boss is optional and is hidden way in the end-game location. Yes, it’s the Dragonlord Placidusax.
Dragonlord Placidusax is an optional boss we can encounter in the Crumbling Farum Azula, which is the endgame area. Nothing like the other Dragons bosses in the game, Dragonlord Placidusax is enormous. Placidusax’s size is almost comparable to Elden Beast, the last main boss of the game. If we consider the Elder Dragon Greyoll, not a boss, then Dragonlord Placidusax is the largest dragon in the game. Furthermore, despite being enormous, Dragonlord Placidusax is way too fast, and his hits are really hard too. Let’s get into more details about the boss!
Dragonlord Placidusax
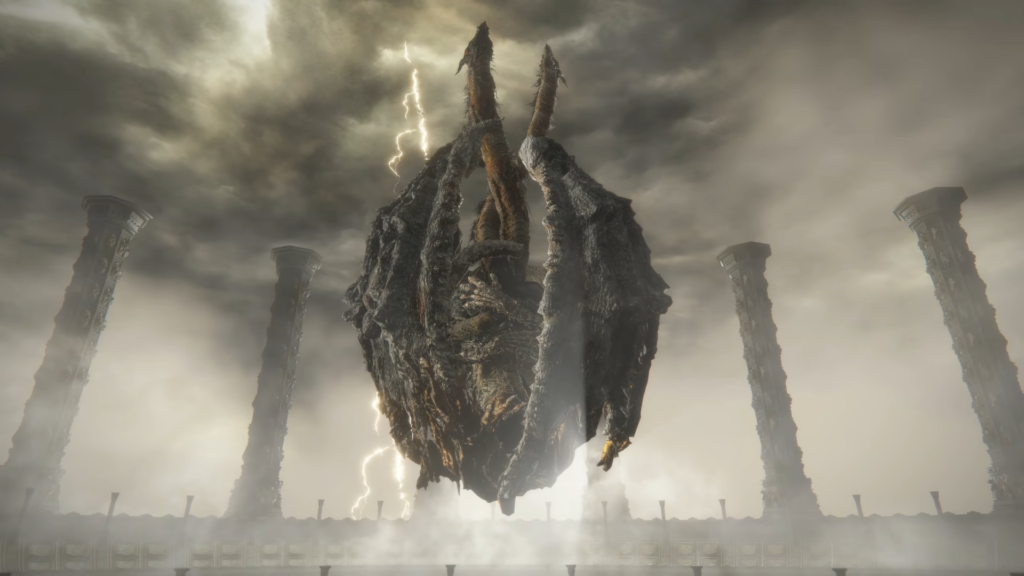
In Elden Ring, Dragonlord Placidusax is a Legendary Boss. Crumbling Farum Azula is home to this enormous, two-headed dragon. He reigned with his god, who escaped as Elden Lord at some point before Marika’s dominion and the Golden Order. Placidusax may have had at least two more heads. This can be verified according to the Old Lord’s Talisman. But by the time we, the Tarnished, get to him, they had all been cut off. Being a legendary and unique boss in Elden Ring, Dragonlord Placidusax is extremely hard to defeat. Tarnished struggles against Dragonlord Placidusax due to the boss’s unique set of attacks and patterns. Though it’s a relief we are fighting an old, worn-down version of the Dragonlord.
According to the in-game lore, Dragonlord Placidusax, in his prime, had 4 heads and 8 wings. He was a force not to be reckoned with. Though with the passage of time, he has weakened, losing parts of his wings and head in the process. But even now, Dragonlord Placidusax is not at all an easy fight. His stats are the highest amongst all the other Dragons in the game.
Dragonlord Placidusax Combat Stats
- Health: 26,651 HP
- Defense: 121
- Stance: 160
- Parryable: No
- Is vulnerable to a critical hit after being stance broken
- Counts as neither Dragon type nor Ancient Dragon type, and so it does not take extra damage from dragon weapons or Dragonwound Grease.
- Weak spot: heads (very difficult to hit unless its stance is broken)
- Damage: Standard, Fire, Lightning
- Drops 280,000 Runes, Remembrance of the Dragonlord
Related: How to parry in Elden Ring
Location on Map
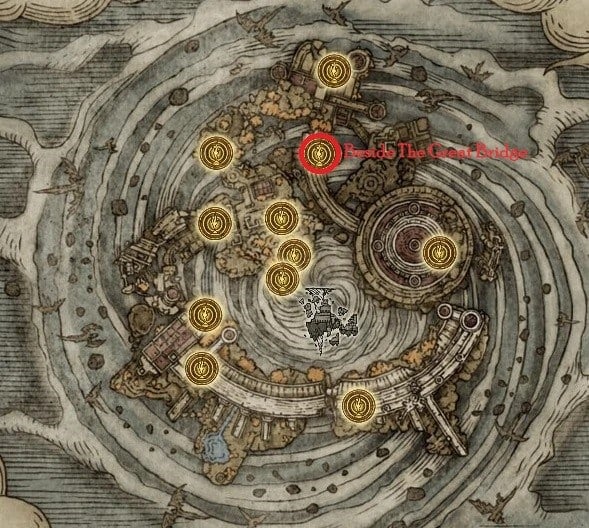
You may find Dragonlord Placidusax in the Crumbling Farum Azula. To get to this boss, you need access to this part of the map. Start at the site of Grace ‘Beside The Great Bridge,’ descend the elevator, and exit the building. After leaving the little cathedral, go ahead until you get to the cliff. Find a couple of protruding rock formations where you can land by looking over and below. Drop to the closest one.
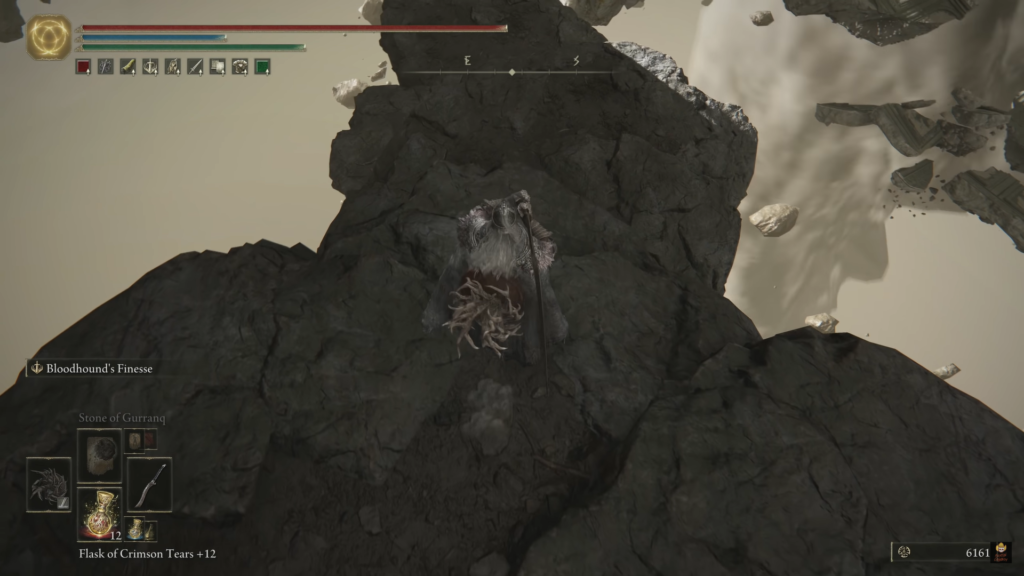
Continue along this path of floating rocks, jumping down from one to the next in order to reach the powerful tornado and fragment of a destroyed building. The option to “Lie down” will be located along the tiny section of the building that is right in front of the tornado. When you do, a cutscene will start in which your character and the structure travel back in time to find Dragonlord Placidusax in the center of the newly created arena. This is where your death match would take place with the boss.
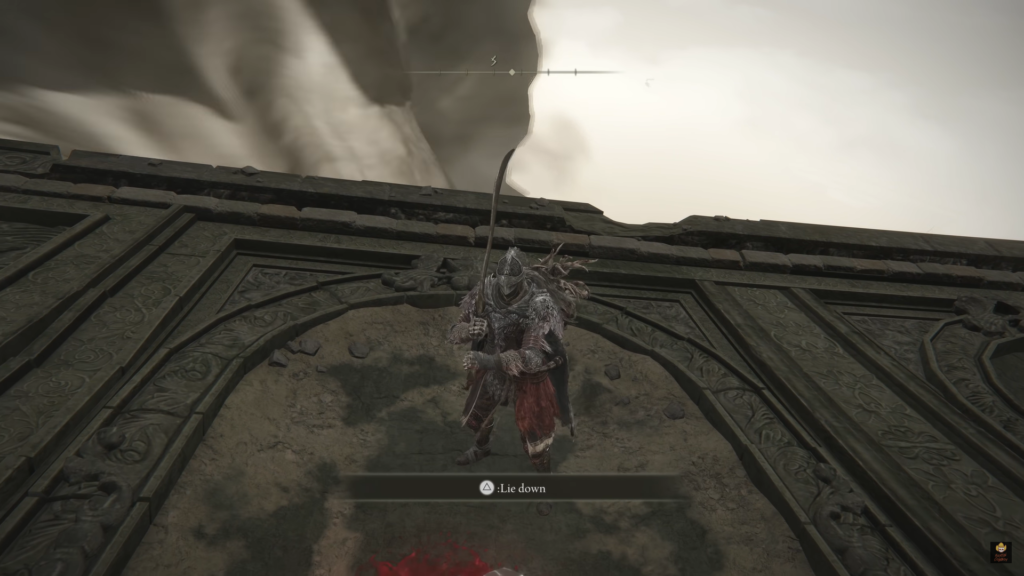
Also, take heed, Tarnished! If death may befall your vessel, you’ll have to transverse the same part again to reach the Dragonlord. This is because there is no Statue of Marika near the boss’s location.
How to defeat Dragonlord Placidusax
As already hinted throughout the article, the Dragonlord Placidusax is an extremely hard and tricky boss battle. Here are some pointers that would help you fight the boss:
Placidusax is vulnerable to head injury and Piercing Attacks
It would be more realistic to state that Placidusax is not nearly as immune to piercing damage as everything else rather than that he has a vulnerability to it. The Dragonlord has very high resistance to all attacks, particularly status effects. However, he is somewhat less resistant to piercing strikes. You don’t need to change your entire build just for one boss, though.
More intriguingly, Placidusax is subject to double damage from any headshot. However, trying to attack his head would put you directly in the path of all of his powerful attacks. Ranged fighters can target the head. Otherwise, only use headshots when the situation calls for it. Though since the boss is huge, projectile strikes like the Meteorite of Astel if thrown near enough, may do a ton of damage.
Put on your protective gear to ward off fire and lightning
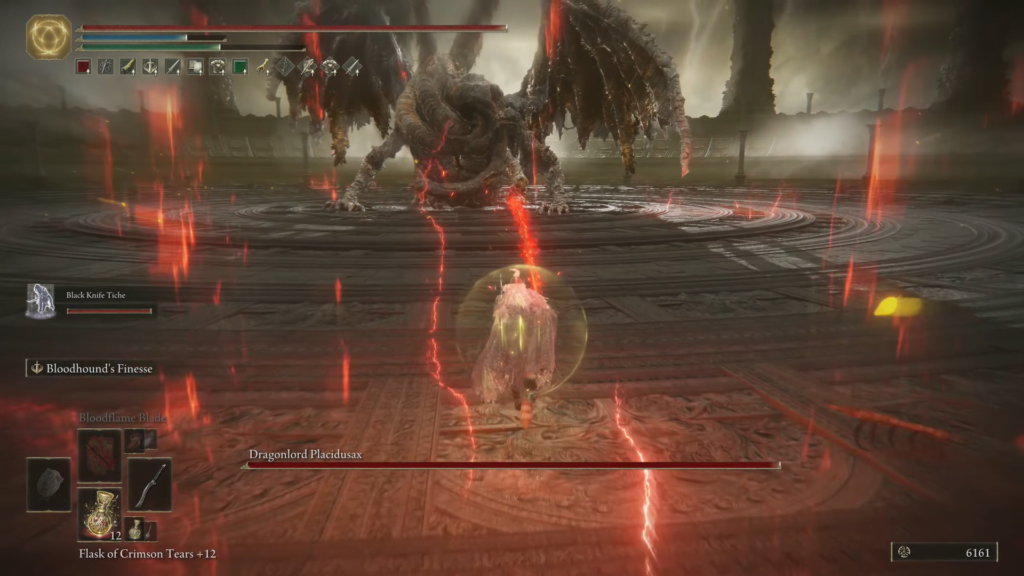
An armor that protects against fire and lightning will be particularly important since the boss can give out a lot of physical damage. In addition to physical attacks, the boss has lots of lightning strikes and odd fire breaths. Shields are of not much use while fighting these attacks. In this fight, evasion is the wiser move, especially when he later unleashes the giant attacks. Avoid going heavier than medium weight, and utilize your roll’s invincibility frames to dodge his strongest blows.
Ranged fighting is dangerous
Ranged combat is hazardous since Placidusax is likely more skilled than you are. As soon as the battle begins, you should try to approach closer to the Dragonlord. This is because the boss has a variety of high-powered lightning strikes with a wide area of effect that is often focused in front of him. Ranged attackers should also stay close or at medium range while fighting. Ranged Attackers should use summons to keep their attention and focus on the heads. Melee attackers should go straight for him and try to beat him out of using such moves.
Try to stay not at Placidusax sides or front, but behind Placidusax
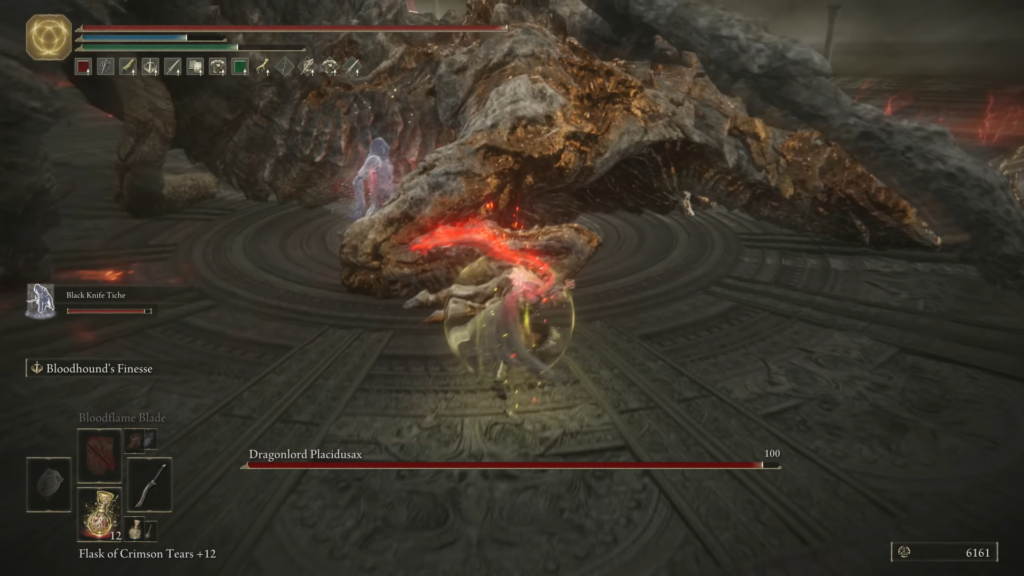
Placidusax can strike you no matter where he is, but if you attack him from behind, his attack patterns will be less terrifying. His front is where he unleashes his fiercest blows, but his flanks are also vulnerable to his swiftest, most vicious blows, including wing swipes and swift-fire attacks that hit without notice. His assaults on those who are behind him are often less deadly and more telegraphed.
Use Summons that can tank attacks
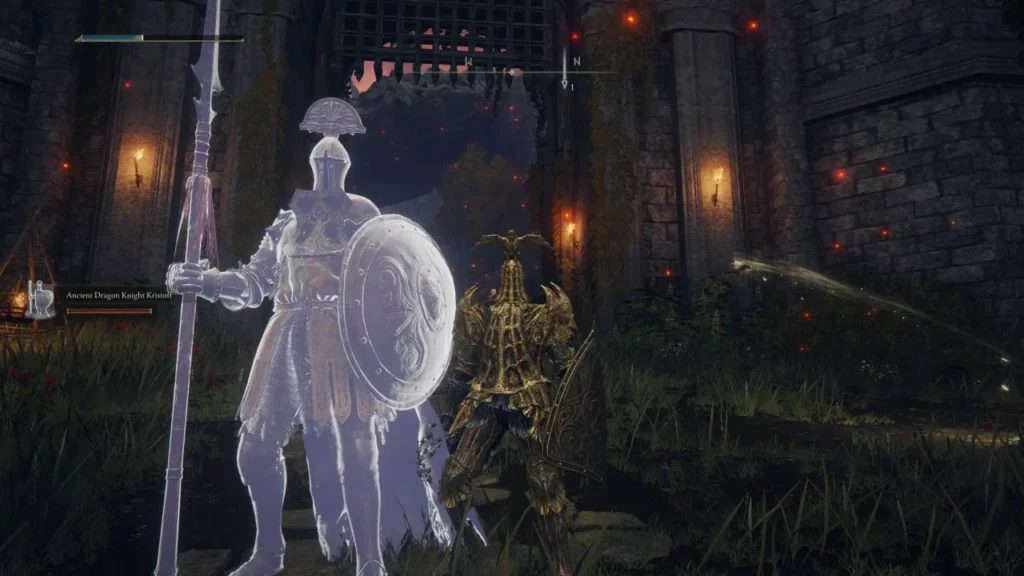
Summon Spirit Ashes that can withstand the assault. Since there are currently no NPCs available for this boss, you will need to summon through Ashes or online friends. When you do summon them, you should especially seek dependable companions. For example, the powerful and suitable Ancient Dragon Knight Kristoff or the dependable Mimic Tear. Even the most agile summon will certainly regularly be thrown about by Placidusax’s intricate and wide-ranging assaults. Thus, you need tankers that can take the damage while you concentrate on doing the damage.
Use the Dragonlord’s attacks’ lengthy cooldowns and windups to your advantage
Since the Dragonlord is rather bulky and requires run-up for his most significant moves, Placidusax’s attacks are heavy on the cooldown or windup moves. These are essentially your chances to do serious harm. Fight very cautiously, then charge in and try to land several free strikes before the boss regains his breath.
Beware of Placidusax’s quick attacks and teleportation
Although Placidusax’s attacks take a while to get going, once they do, he accelerates to dangerously high speeds. Placidusax can teleport through storm clouds and will begin to use intricate combinations in which he vanishes and then reappears, hitting the player each time. He may also teleport back while flying at full speed and then disappear, hoping to collide with the player while they’re not looking. Placidusax’s disappearance can make the player nervous and mistake their dodge time. The player’s warning that something unexpected is about to happen will come in the shape of storm clouds in the area where he is going to arrive. These storm clouds are filled with red lighting, which makes them more ominous. So don’t lose your cool over this, and try to concentrate to time the dodge at the right time.
Phase 2 of Placidusax focuses on teleportation and AOE
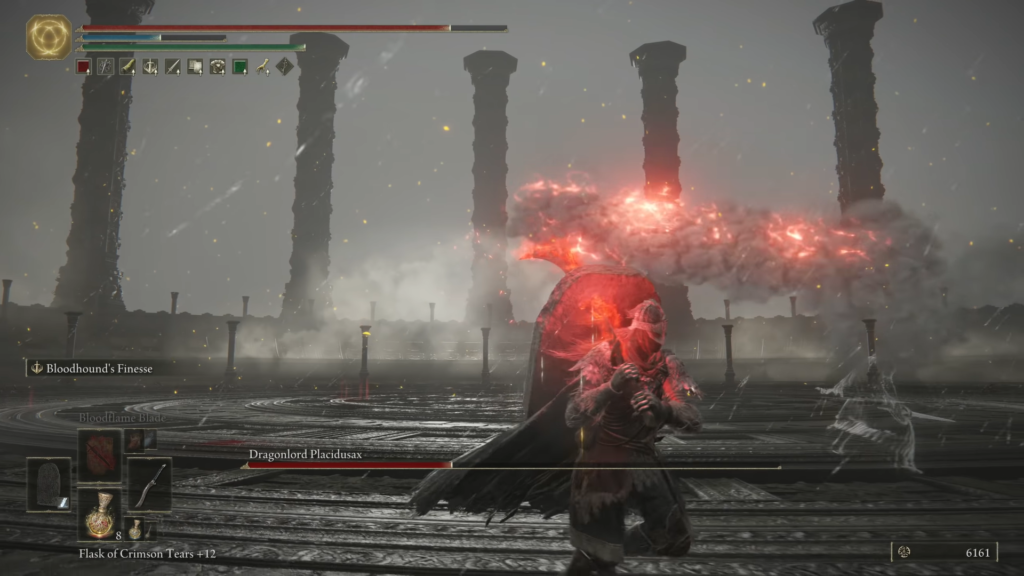
At 50% health, Placidusax reaches phase 2, which is not a significant difference but is unquestionably improved. He will perform the two teleportation moves mentioned above in addition to permanently transforming his fire assaults into sweeping laser beams that cover the whole arena. They move in a highly unexpected manner. Therefore, this is one of those times to be really protective! Attacking at this moment is practically suicide. Players need to keep their concentration up and make sure not to get swept up in the attack.
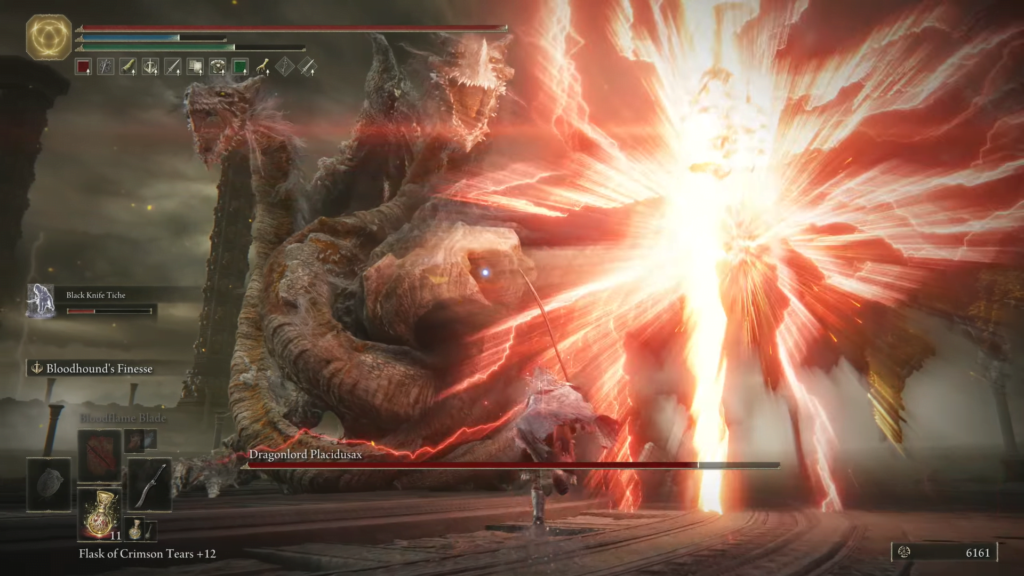
Placidusax also learns a brand-new move during phase 2, where he raises a huge lightning spear and slams it into the earth. The attack itself is very deadly, and it comes with an AOE explosion which is lethal and far-reaching. Dodge it as soon as you notice the attack approaching.
Rewards after defeating Dragonlord Placidusax
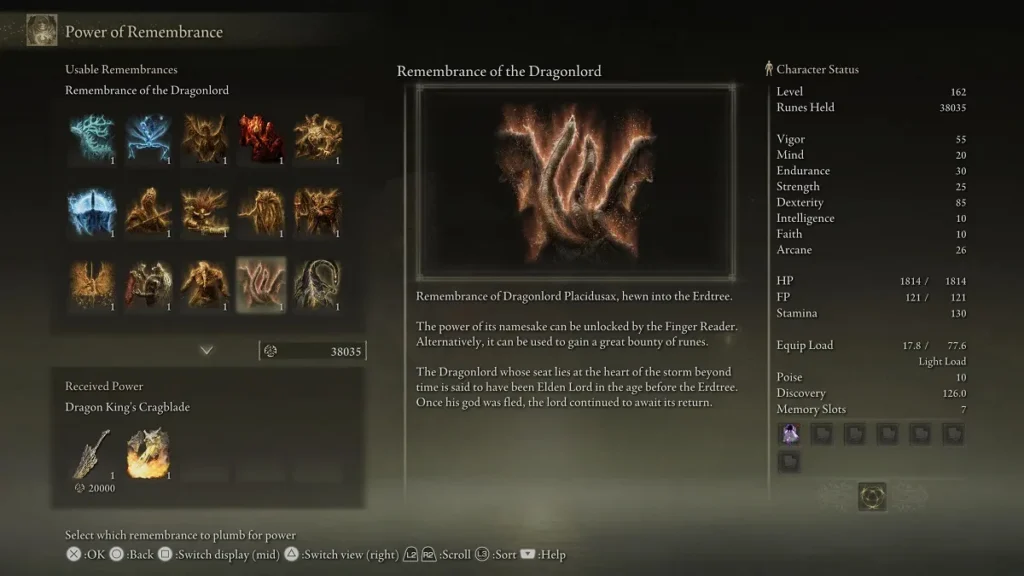
You will get a large quantity of 280,000 Runes for defeating Dragonlord Placidusax, as well as the ‘Remembrance of the Dragonlord,’ which may be exchanged with Finger Reader Enia for one of the following two rewards:
- Dragon King’s Cragblade: A heavy thrusting sword with scaling to Str and Dex and additional Lightning damage. It boasts a potent special weapon skill that lets you transform into lightning to strike targets in front of you and deal more damage to dragon adversaries with all assaults.
- Placidusax’s Ruin: This incantation causes the user to assume a draconic shape and shoot lightning and lasers downward. After shooting, it may be targeted and does significant damage. However, it takes up 3 Slots and costs 62 FP.
These two are equally potent while plainly being better suited to certain body types. Melee builds should focus on the Blade, while faith magic users should naturally gravitate toward the Incantation. Moreover, discovering this boss and defeating it gives off a really vivid sense of victory. Considering it’s one of the strongest bosses in the game, the fight is fun in its own sense. If you have yet to defeat this boss, learn from these pointers and ensure your victory!
In case you missed it:
- Animal Crossing: New Horizons – How to time travel to skip through wait times
- Hogwarts Legacy: How to complete Troll Control side quest


