Hogwarts Legacy: How to complete Helm of Urtkot Main quest
Complete the Helm of Urtkot and earn a loyal friend in Howgarts Legacy
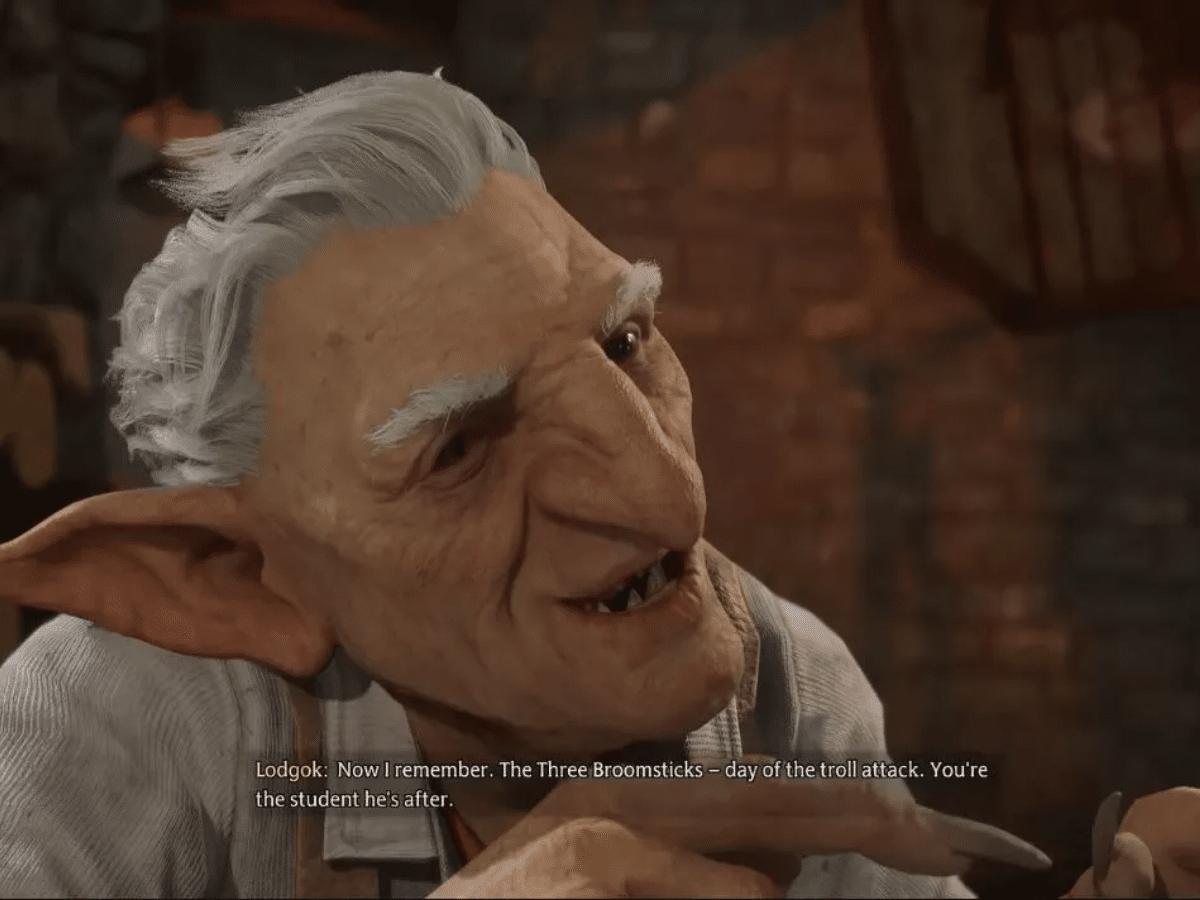
Lodgok
Hogwarts Legacy is an open-world action role-playing game developed by Avalanche Studios and published by Warner Bros. in 2023. The nominee for the “Most Anticipated Game” has a huge open world map for players to explore and a beautiful storyline for players to play through. The game offers a total of 47 main storyline quests through 3 seasons for players to complete the story. The Helm of Urtkot is the 23rd quest out of the 47 offered main quest in Hogwarts legacy.
The Helm of Urtkot requires players to locate and retrieve a unique goblin relic from a witch’s tomb. The quest is first available to players after completing Professor Percival Rackham’s trial. It requires players to be at least level 12 and have the spell Depulso on their spell books. The spell is taught by Professor Sharp after completing his first assignment.
Related – Hogwarts Legacy: How to complete A Bird in the Hand puzzle quest
Hogwarts Legacy: Helm of Urtkot Walkthrough
Speak with Sirona
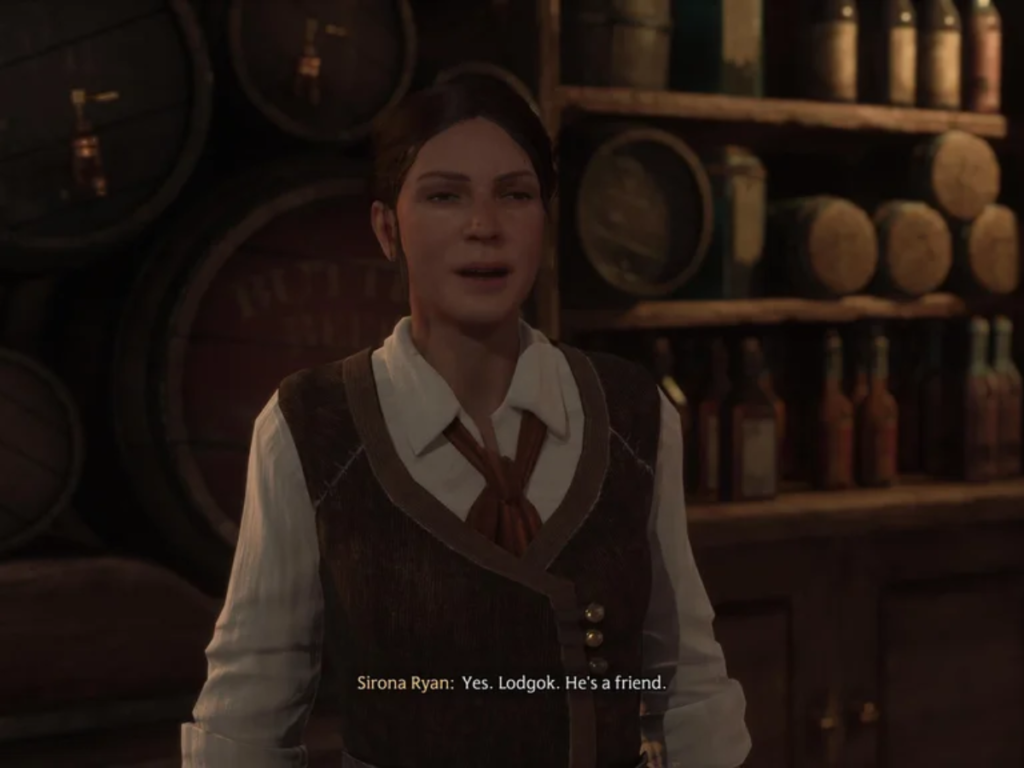
After meeting the requirements, players need to head to the Three Broomsticks and speak with the owner of the pub, Sirona to start the quest. The protagonist asks Sirona about the goblin whom she had been talking to on the day of the Troll attack on Hogsmeade. The pub owner identifies the goblin as Lodgok, who was an old trustworthy friend of hers. You then ask her about his whereabouts as you would like to talk to him and she sends you to Hog’s Head Tavern.
Speak to Lodgok
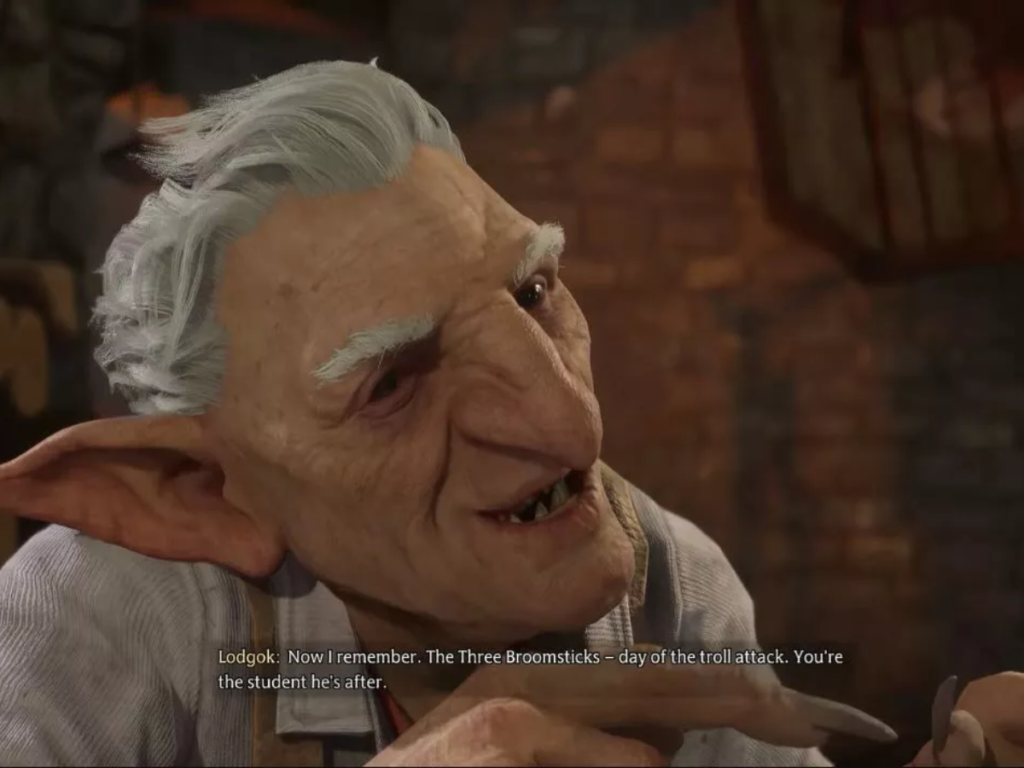
After finishing the dialogue with Sirona, you must make your way through Hogsmeade to the Hog’s Head Tavern that is marked on your map. On reaching the tavern, you will find the goblin Lodgok, sitting on the left side of the tavern having a drink. You then engage in a conversation with him, explaining to him that Sirona trust you and would like his help in learning Ranrok’s plans. Lodgok agrees to help you but in order for him to earn Ranrok’s trust a goblin relic called the Helm of Urtkot is needed in Hogwarts Legacy.
Meet Lodgok at the Witch’s Tomb
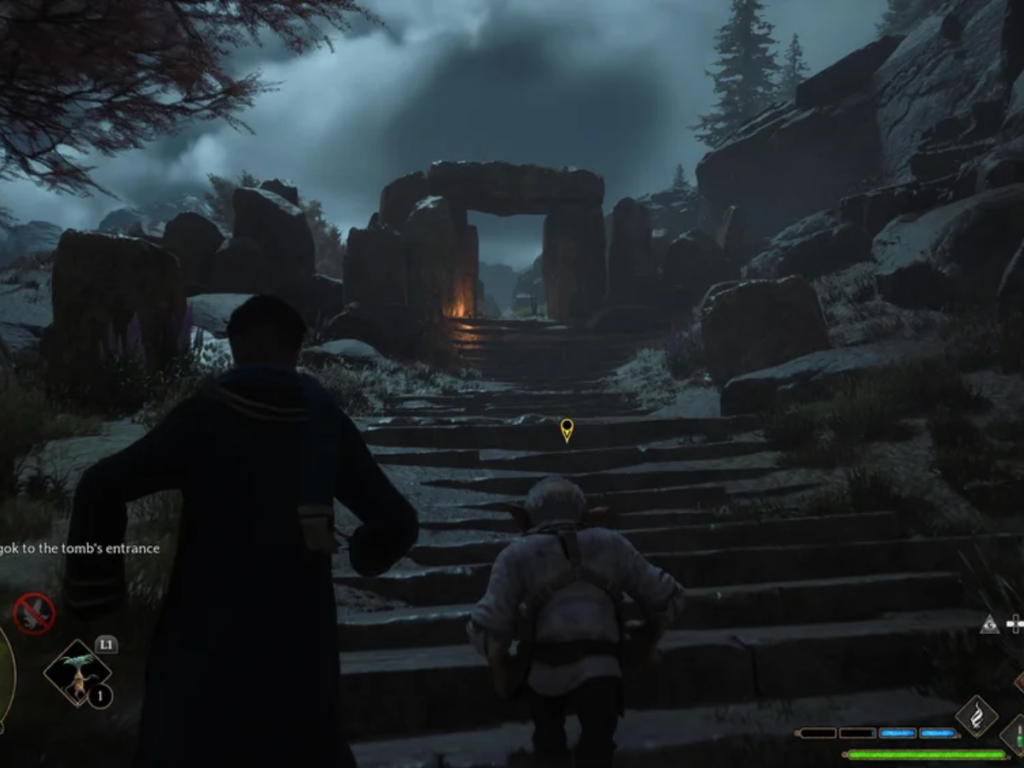
Following the conversation with Lodgok at the Hog,s Head tavern, you meet him on the outskirts of Hogsmead. He then leads you to the witch’s tomb located close-by. On route to the tomb, Lodgok explains what you must locate and how it is going to help them in revealing Rankrok’s plans. After the brief conversation with Lodgok, you reach the tomb called the Collector’s Cave and must enter it to move on with the quest.
The Collector’s Cave
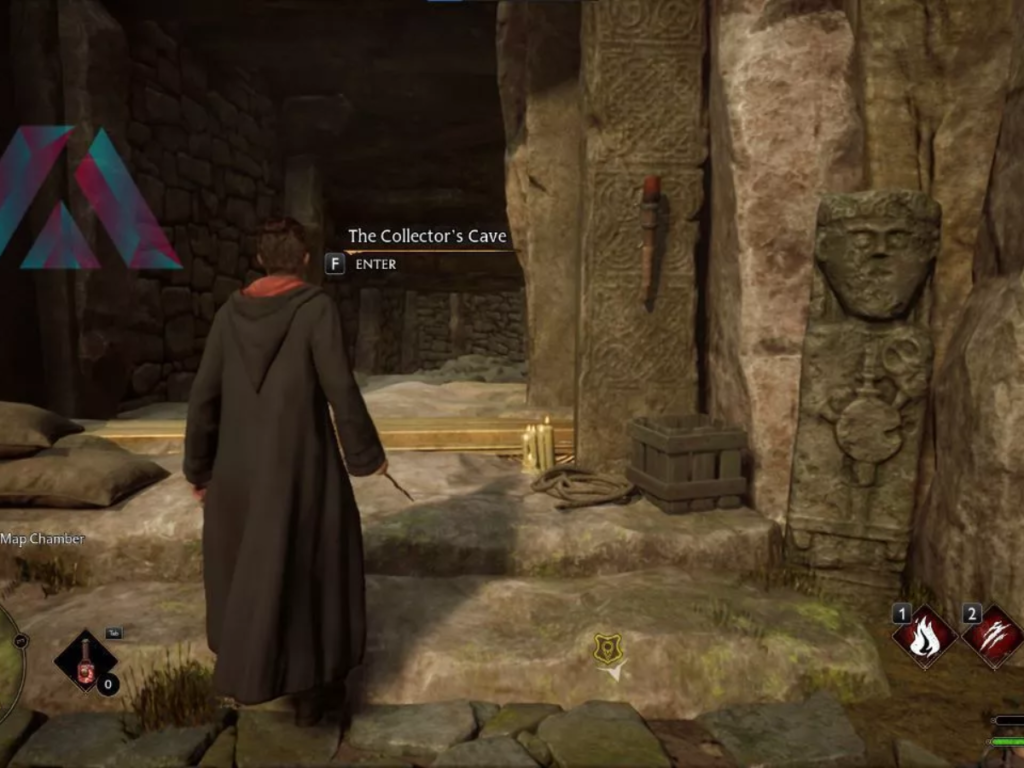
After entering the Collector’s Cave, head down the path and turn left to find a door. That door will be locked, with three Moth symbols engraved on it. Two moths will be already inside their marks. However, searching for the third moth to open the door will be the answer to the puzzle.
First Moth Door
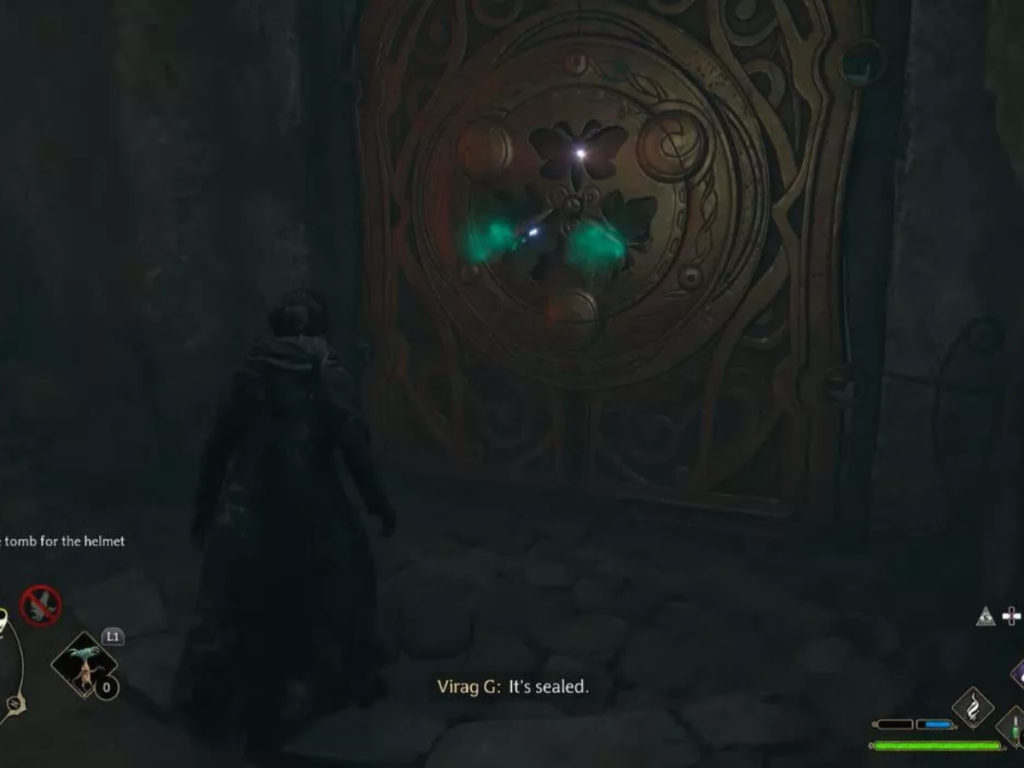
You must turn directly opposite the door to locate the moth. Once located, cast the spell Lumos to lure the moth to the light on your wand and move toward the door. After reaching the door, cancel the spell cast and the moth lured by the light of your wand will automatically place itself in the empty symbol engraved on the door hence opening the door.
Second Moth Door
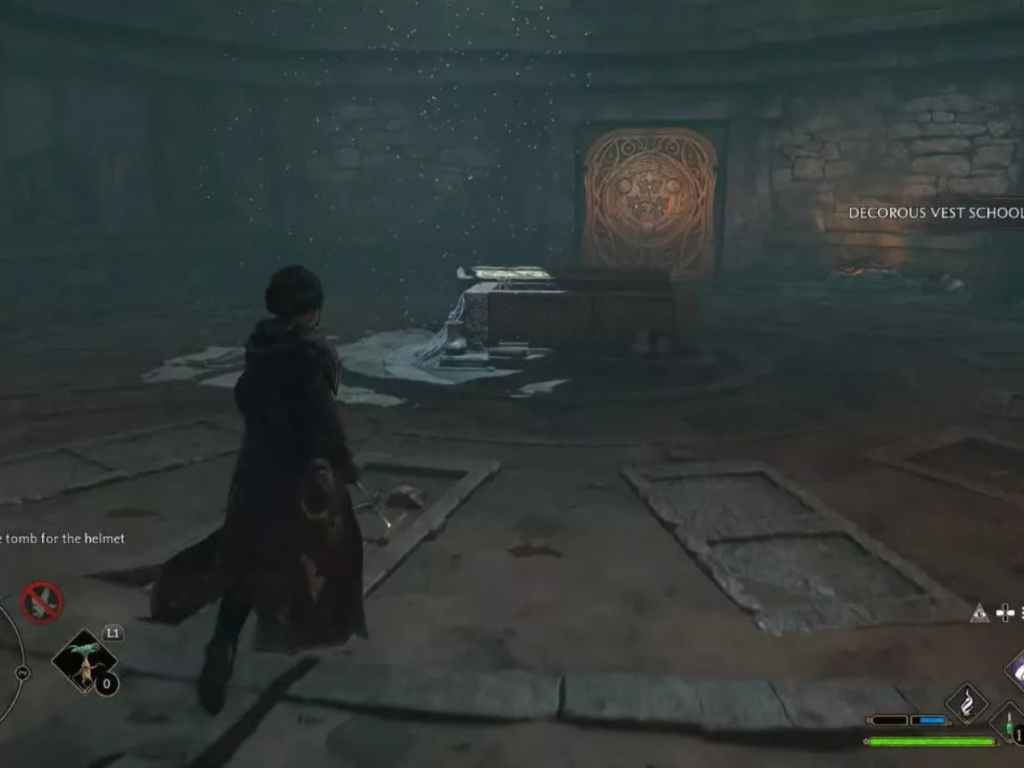
Once the first moth puzzle door is open, continue making your way down the path until you reach a circular room with a grave in the center and another moth door on the far side. You will realize that this door too has 3 moth symbols engraved on it but none of them contain moths. You must locate all 3 moths in the circular room. 2 of the 3 moths can be found on either side of the grave. The 3rd moth will be behind a broken door that you must open using Depulso. Once you have located all the moths, use Lumos to lure them toward the door to get it open.
After you get past the door and continue down the path, you will encounter Inferis the undead enemy. These Inferis can only be dealt damage after they have been hit with Firs spells like Incendio or Confringo. You can also defeat them by using Ancient Magic to hurl explosive barrels at them to inflict fire damage.
Third Moth Door
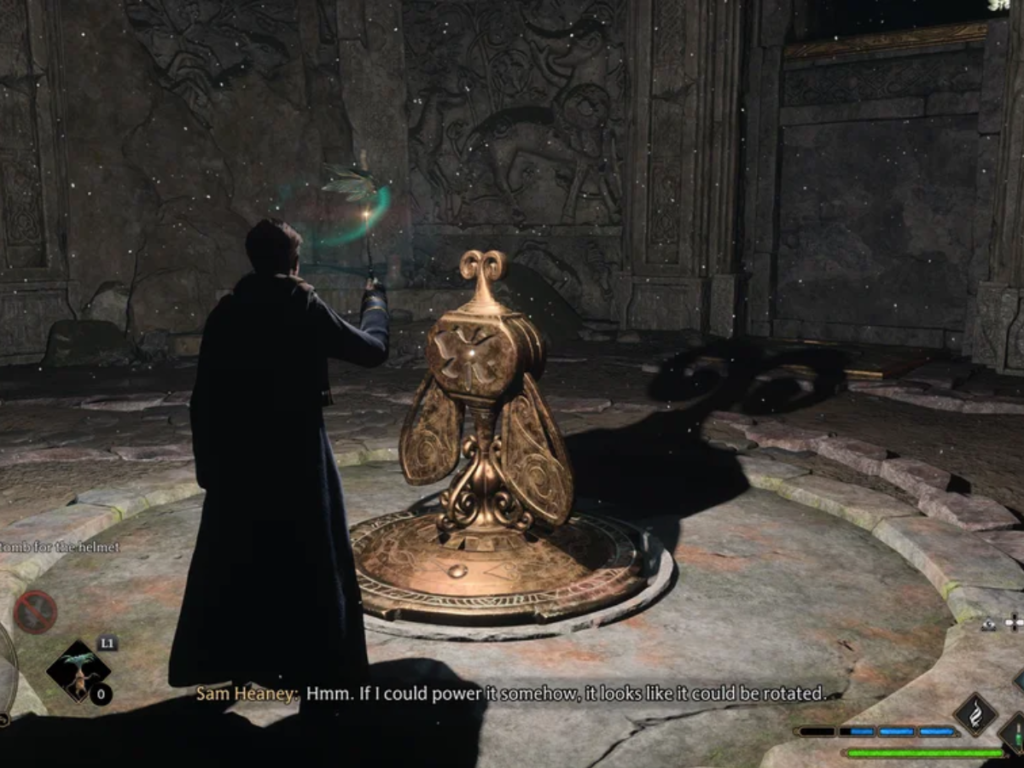
Once you have opened the 2nd moth puzzle door and dealt with the Inferi, you will come across your third moth door. The 3rd and 4th moth doors are quite tricky and require a bit more effort to open. There will be 2 moths to your left as you enter the room, you must cast Lumos to lure one of them to the door and the other one to the mechanism at the center of the room. Once the moth has been inserted into the mechanism, it activates and you must cast Depulso on it. It will rotate and ascend a piece of the ground to match the heightened path. When the rotation slows down, the block slowly descends so quickly climbs the path and grabs the 3rd moth.
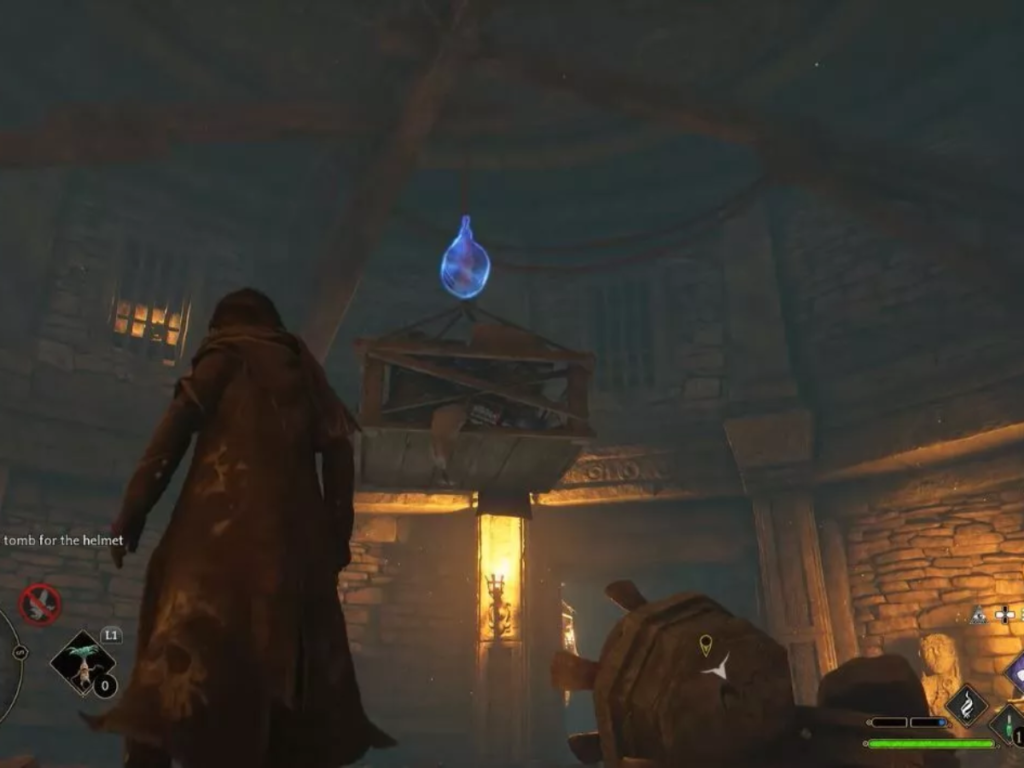
After getting the door open, you will find yourself in a room with a hole in the ground. However, the hole is covered. In order to break the opening free, look right above it and you will find a pulley dangling objects on it. You can cast a basic spell to break the pulley and cause the object to crash down on the covered hole opening up a path. After the path is created, you must jump down into shallow waters. Look at the map on the bottom left and head East. Keep moving forward until a closed-door block your path. To open this one, locate the lever using Revelio to its right and cast the Accio spell to pull it and slide open the door.
Fourth Moth Door
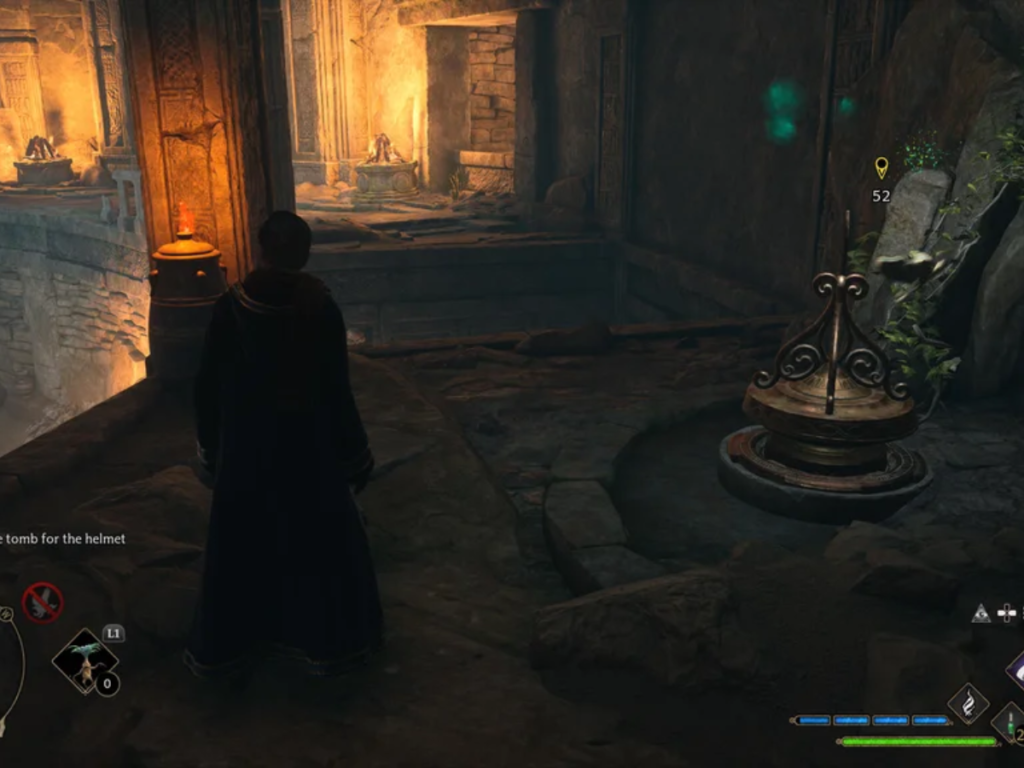
This is the final moth puzzle door and one of the trickiest in Hogwarts Legacy as it involves 4 moths instead of the usual 3. Grab a moth from either the left or right side of the room, and use it to power up the mechanism like you did previously. Walk onto the lowered section between the two higher platforms, and then hit the mechanism multiple times with Depulso to raise yourself up and grab the moth on the right side by casting Lumos.
For the final moth, it is very tricky as it is on the lower level and you need Depulso to reach the door. The issue that makes it tricky is that the game does not allow players to cast 2 spells at once so you cannot cast Lumos and Depulso simultaneously. So you must place the moth on another mechanism and raise yourself to the door. Once at the door cast Depulso multiple times at the mechanism again and you will see the podium with the moth rising. You can easily grab the moth from the rising podium and place it on the door.
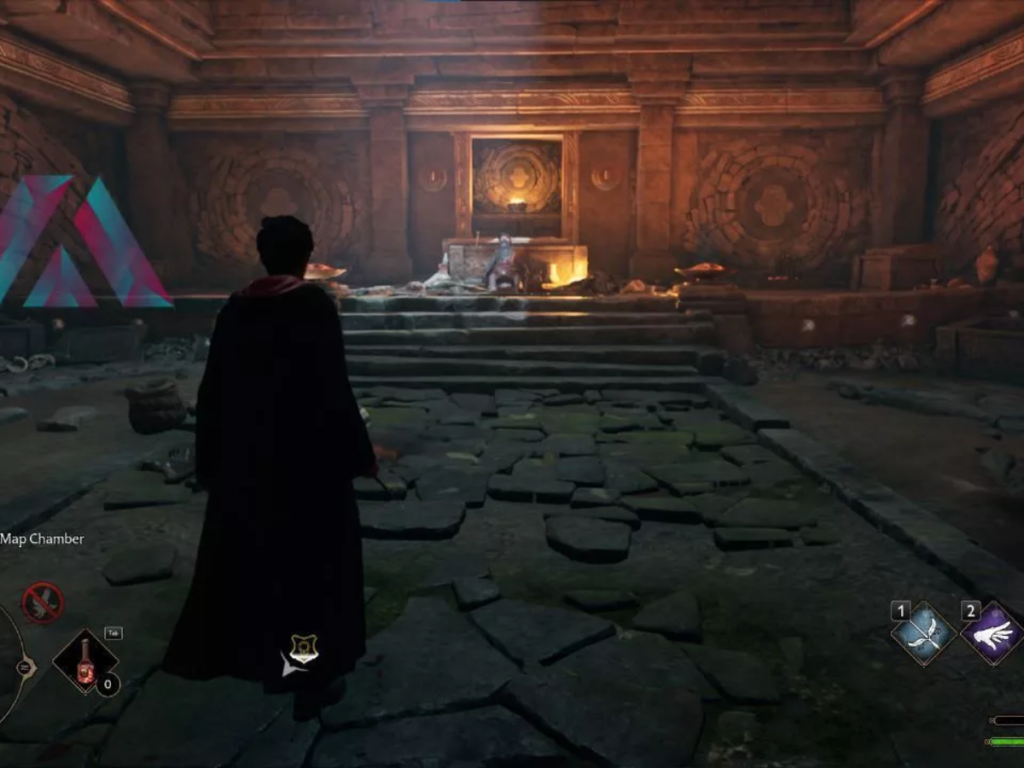
Once this is all done and the door is open, head down the stairwell to the witch’s tomb where you will find a dead Ashwinder. You will realize that the helm has been stolen by thieves and you must report it back to Lodgok. To exit the cave, you can find a door behind the grave that will lead you outside.
Retrieve the helmet from the thieves
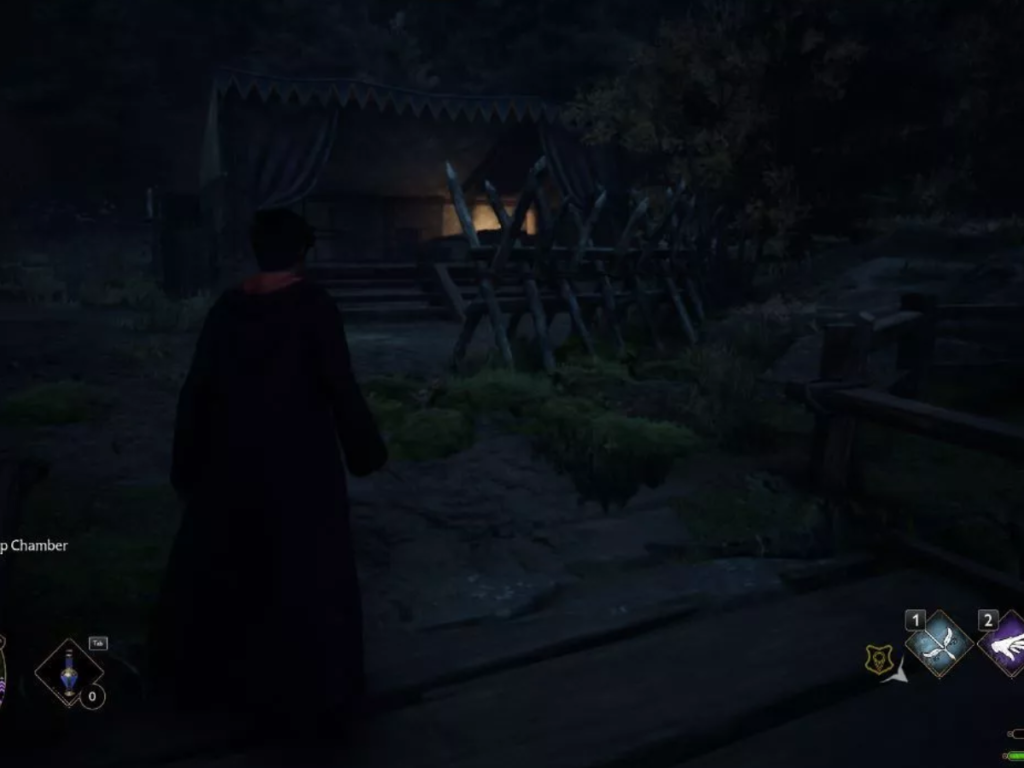
Once outside report to Lodgok and he will inform you about the thieves’ encampment close by. Head to the camp and defeat the guards. You will have to fight off Ashwinders and a giant troll to get to the chest containing the Helm.
Once you have retrieved the Helm, report back to Lodgok which in turn starts a cutscene. The end of the cutscene is the completion of the quest. The completion of this Helm of Urtkot quest earns you a loyal friend to help through your time in Hogwarts Legacy.
In case you missed it:
- Locations of the Republic chests in Fortnite x Star Wars “Find the Force” quest
- Fortnite Reboot Rally: Quests, Rewards, and Bonus Goals


