Valorant: Best defensive Killjoy setups for Ascent map
Valorant: Best defensive Killjoy setups for Ascent map

Defending sites on Ascent in Valorant presents its own set of challenges for players. With multiple pathways involved, developing an effective defensive strategy has become integral to overthrowing the opposing team’s advances. In such circumstances, Killjoy comes out on top when it comes to fortifying stations and setting up a base with her tactical setups on Ascent. The German genius inventor brings along an unmatched defensive aptitude with her wide range of gadgets and traps, which can change the course of the war in favor of the defenders.
The following are the defensive Killjoy setups for Ascent in Valorant. Her kit offers a multitude of capabilities that can effectively halt enemy progress through the placement of three utilities: Turret, Alarmbot, and Nanoswarm. For those who seek fresh tactical ideas or those looking for refinement of their current strategies with this agent, we present an extensive guide with some great examples of successful setups that will enlighten your gameplay by providing tips explicitly geared towards defending against enemies.
All defensive Killjoy setups on the Ascent map in Valorant
A site defensive setup (if you are playing site)
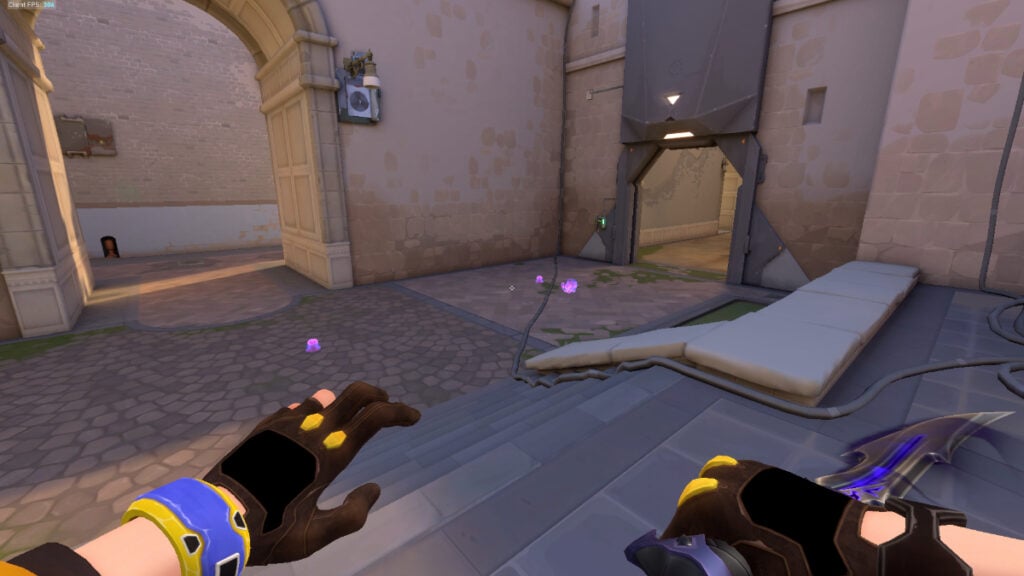
First, let’s cover A site on Ascent. For this setup, place your alarmbot near the A switch. Then, fortify this setup by incorporating two nano swarms in tactical locations. Placing one swarm in such a way as to obstruct any escape attempts by enemies will serve as an additional line of defense while setting up another near the entrance will deliver deadly blows to any incoming rush.
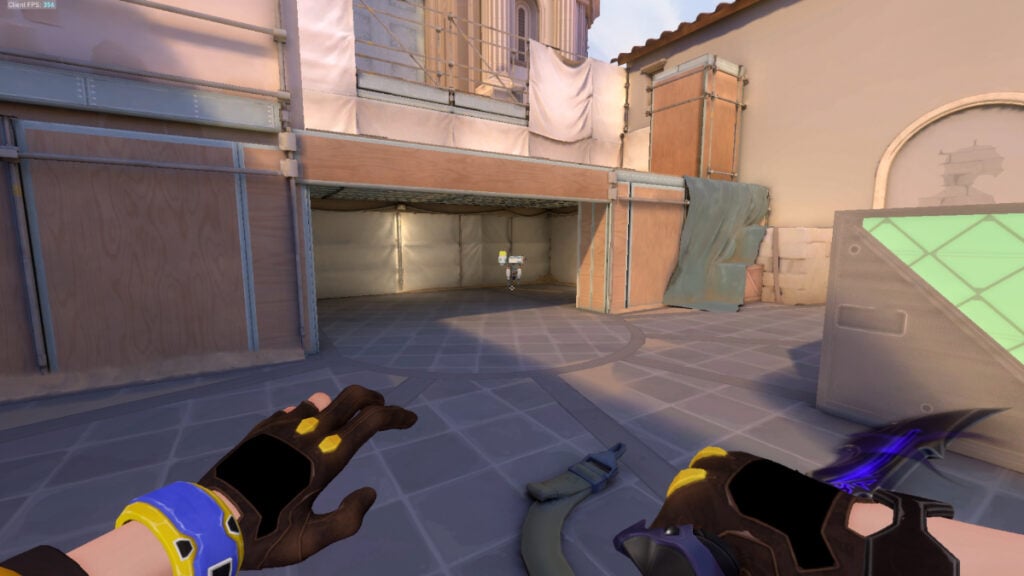
Additionally, strategically place the turret in the “hell” position, as depicted in the image above. Upon activation of the enemy alarm bot, take advantage of the ensuing confusion and utilize both nano swarms to ensure a substantial advantage over your opponents. This tactic will grant you several effortless kills.
A site defensive setup (If you are playing A link)
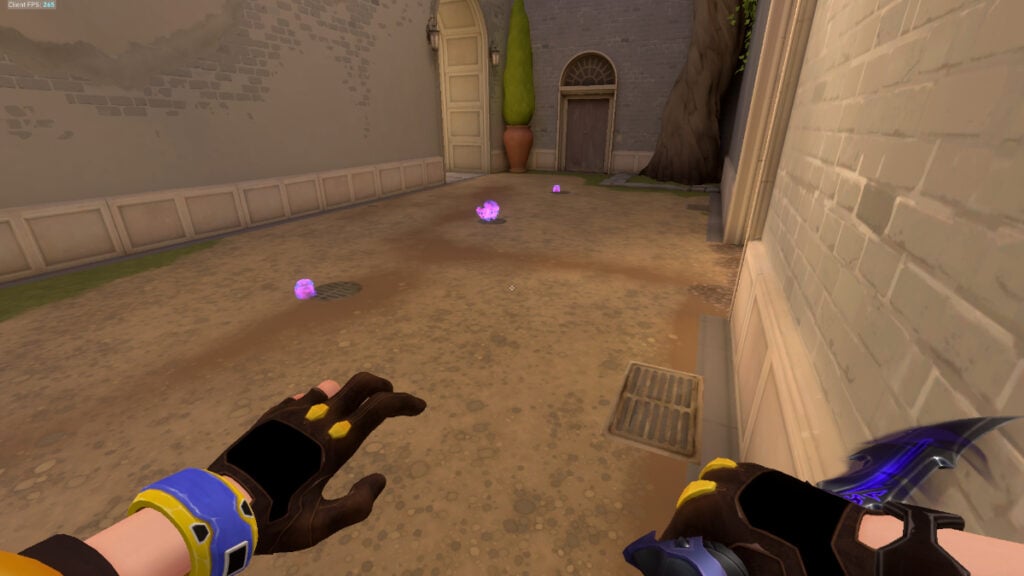
Protection for Ascent’s A Link is highly recommended. For improved control on a push from mid, this KJ setup at Ascent’s A Link or Tree offers promising features. Place your Alarmbot within its core for prompt detection of any enemies. For additional defense tactics, strategically placing two nano swarms on opposing sides can create an impenetrable barrier that defeats any attempt to flee or conceal oneself.
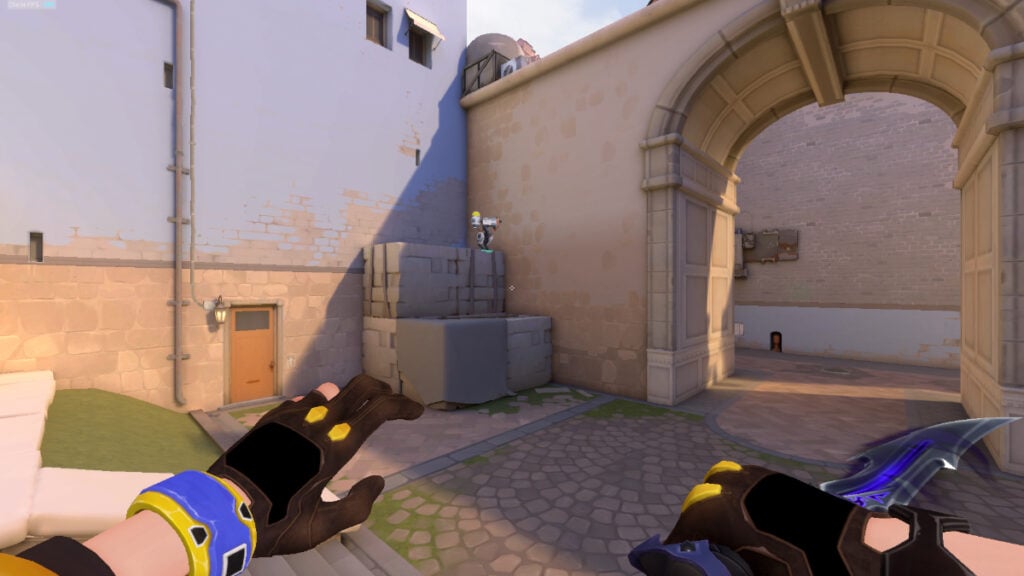
Installing a turret in a corner of the site can also provide additional insight into the enemies. Combine this with an alarm bot and correctly placed nano swarms, and you’ll achieve complete coverage from any threats, no matter where they come from.
A site defensive setup (For Jett’s aggression toward the generator/ anti-plant)

Players have been using the Jett smoke and dash combo on the generator on A site for a long time. One effective tactic to counter this is by devising a well-planned trap network. Catch the enemy Jett off guard by tactically placing the alarmbot and surprising them. Placing two nano swarms in a precise arrangement can also help create an intertwining web that will trap them with no escape. With this strategy, not even agile agents like Jett will be able to skirt away toward the generator.
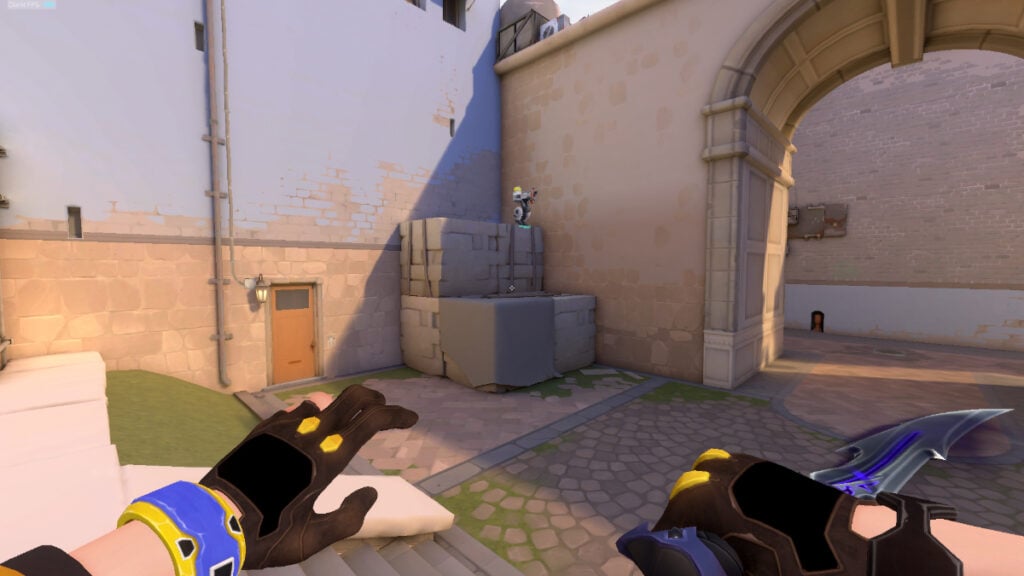
To improve the defense of Ascent’s A site, consider placing a watchful turret in the corner. The turret’s strategic location acts as an immovable guard, protecting both A Link and the main site. By ensuring that no area goes unmonitored, you can maximize your team’s coverage and enhance their protection.
B site defensive setup (Lane Setup)
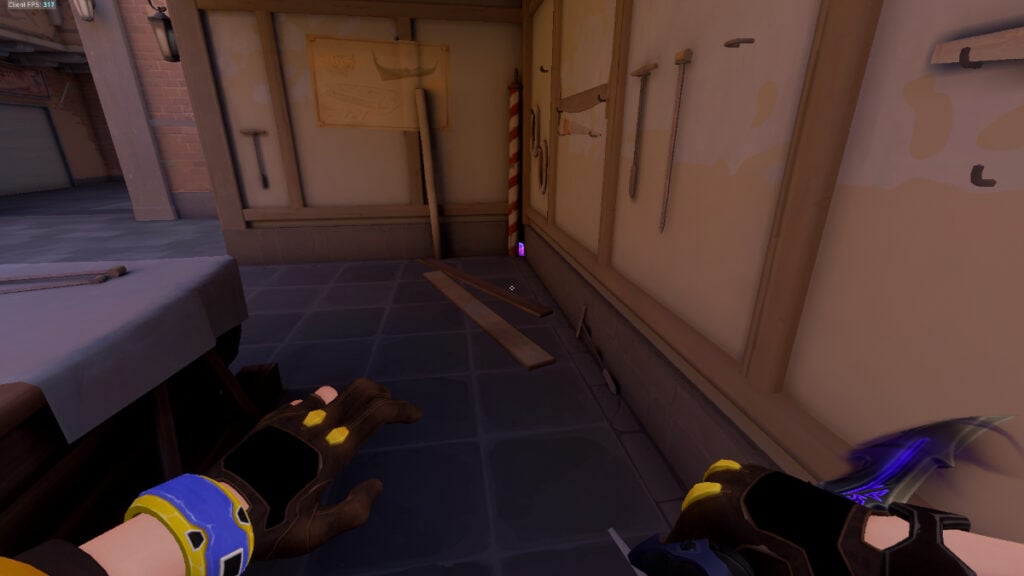
Take command of the B site lane in Ascent by employing a clever tactic. Position a nano swarm discreetly in the above-shown corner and await the arrival of your enemies, who will unknowingly walk into its trap. Witness as they are caught off guard by this unexpected hurdle, hindering their advance.
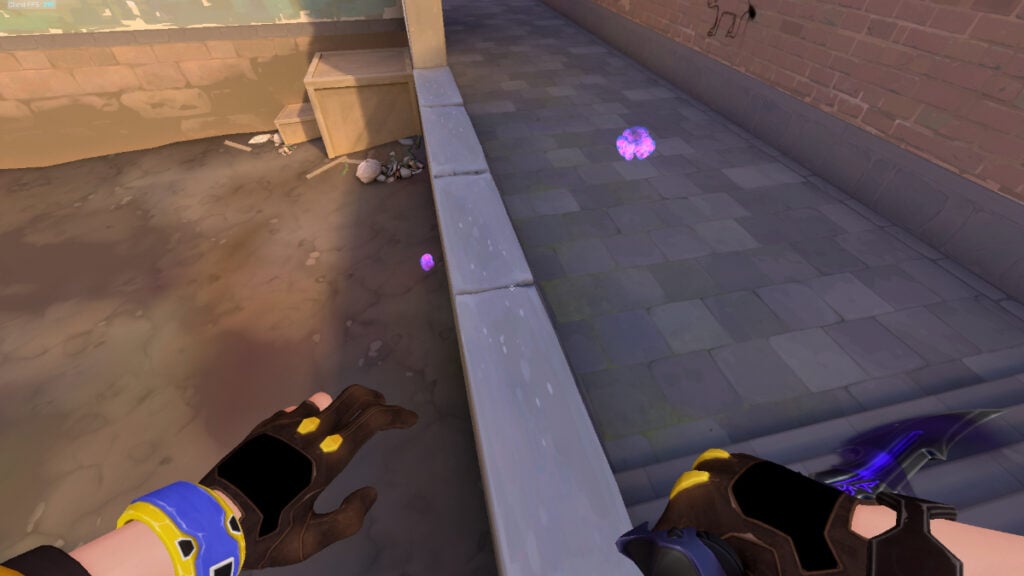
Proceeding down the lane requires caution since there’s a pair of adversaries on guard with astute defensive skills capable of dismantling anything that attempts intrusion. Be cunning by placing the alarmbot in its designated spot carefully followed by positioning the nearby nanoswarm for maximum effectiveness. When warranted or when attacked, set off both devices synchronously which leaves no way out for your opponents.
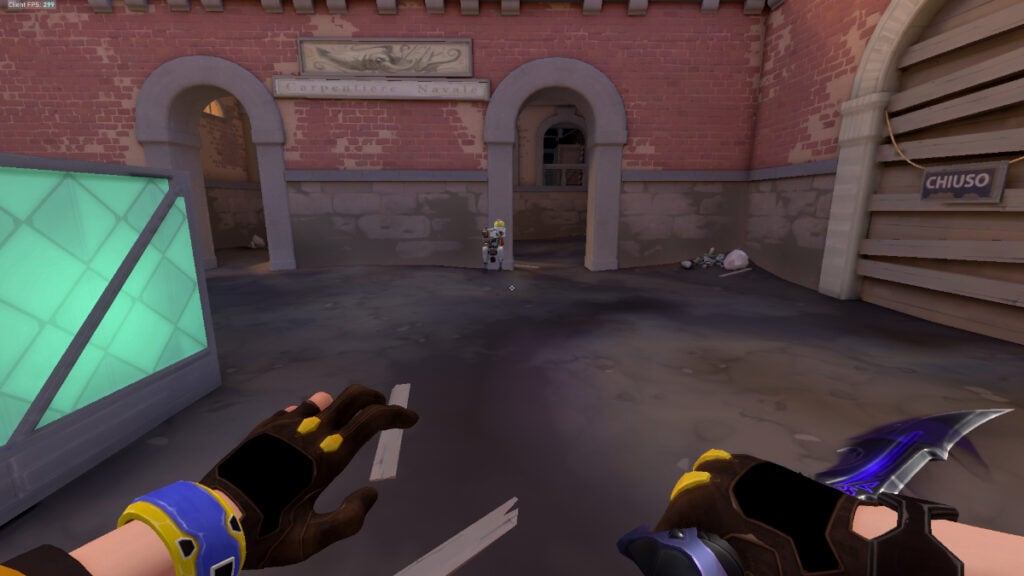
Place a turret on site that will also give damage anyone who is stuck in the setup and slow them down too. This setup will also detect anyone who manages to cross the lane and enter the site. This also detects anyone who tries to enter the stairs trying to dodge the setup. This setup will get you a maximum number of kills.
B-site defensive setup (to stop push)
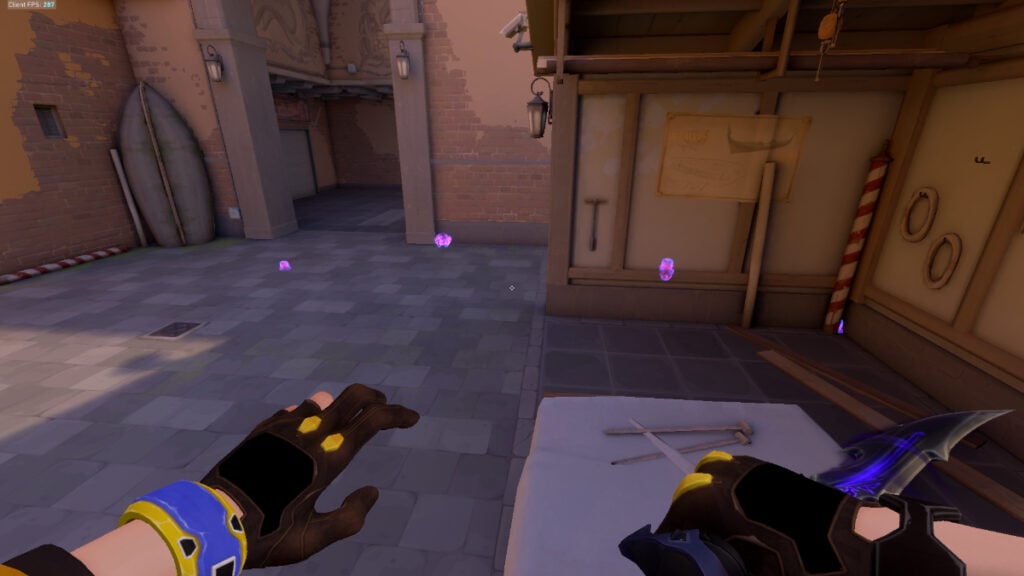
Place the alarmbot so that it covers the left side of the doorway and pair it with a nano swarm right in front of it. As the alarm bot goes off, detonate that nano swarm to do a lot of damage to the opponents trying to enter. Place one more nano swarm on this small ledge in the corner, and you can detonate both nano swarms together. That will make it difficult for the opponents to take cover anywhere, as this will cover the lane behind it.
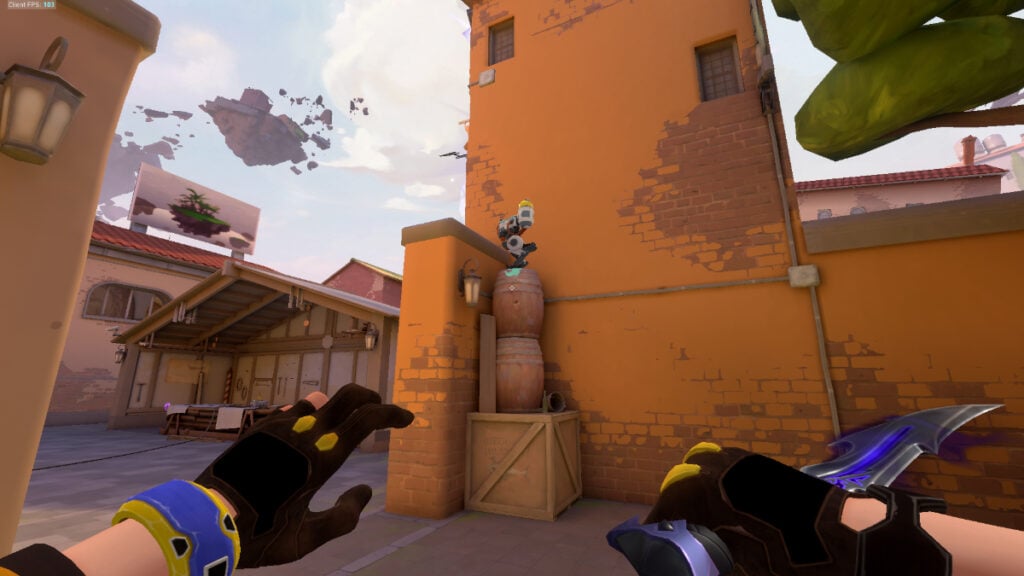
Place the turret on top of these barrels to pair it up with the setup; it will slow down opponents trying to get stuck in our setup. This will cause them to get maximum damage from the nano swarms. This setup will delay the enemies from entering the site.
B-site defensive setup (anti-Jett)
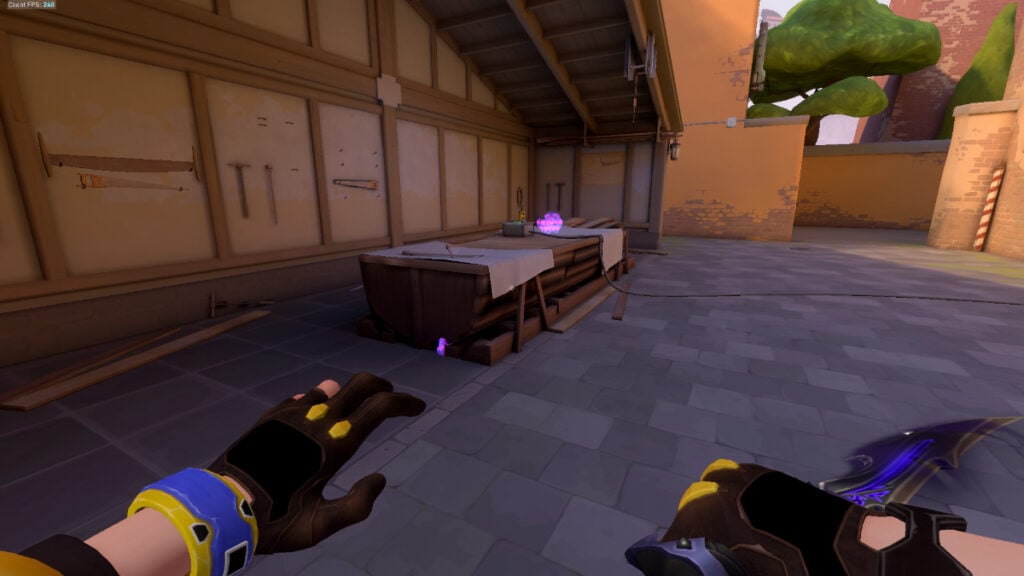
To stay ahead of our opponents and outsmart their potential tactics, it is wise to consider placing an alarmbot in a strategic location on top of the boat near the switch. Furthermore, positioning a nano swarm below the boat on its left side can provide an extra layer of protection.
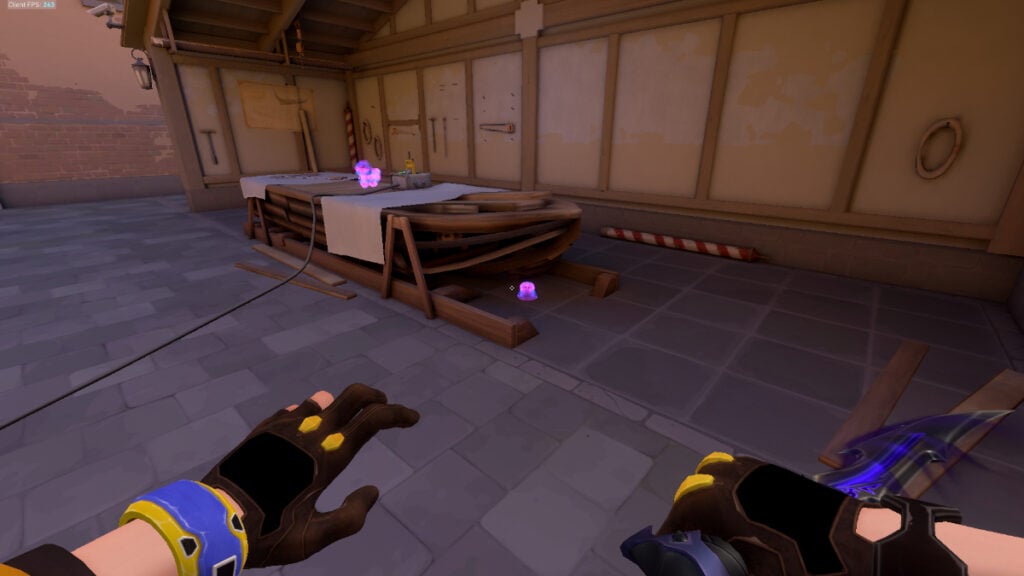
It would be wise to bolster the security of the switch area by positioning the last nano swarm beneath the boat on your right. By doing so, you would create a thorough setup that would provide extensive coverage in the particular region and inflict immense damage on anyone attempting to push.
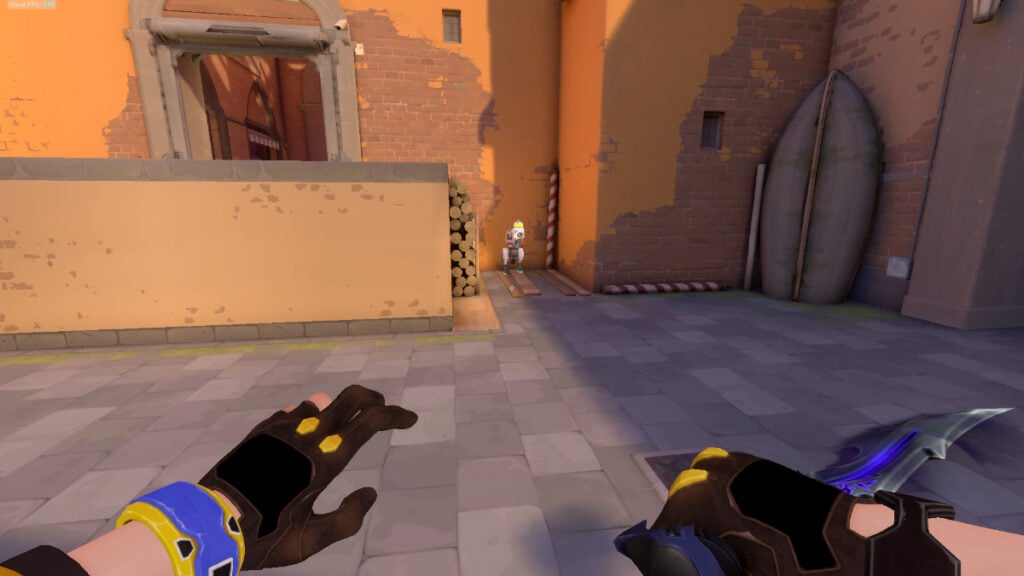
Enhance your defense strategy by positioning the turret in the compact cubby. Such a move will hinder adversaries’ pace and heighten nanoswarms’ damage effectiveness. This tactical maneuver is likely to create unease amongst rivals, drawing their focus away from your role as Killjoy.
Killjoy‘s expertise in devising defensive strategies on Ascent stands unparalleled. Her alarm bot placements, accompanied by carefully deployed nano swarms, create an inflexible stronghold that can fluster top-quality opponents. This guide exemplifies how Killjoy successfully constructs such intricate setups filled with dynamic possibilities for carefully executed plays on Ascent. If defenders learn these tactics thoroughly enough, they could eventually seize command over the playing field by obstructing adversaries’ progress toward victory in competitive games. Henceforth, adopting inventive moves will take one closer to mastering defense on Ascent, either as a Kiljoys main or in Valorant.
In case you missed it:


